
I have had a number of questions about how I went about making the roof lines and mounting them to tile.
Making the Roof Lines
The short version: Lots of conduit. And lots of drilling.
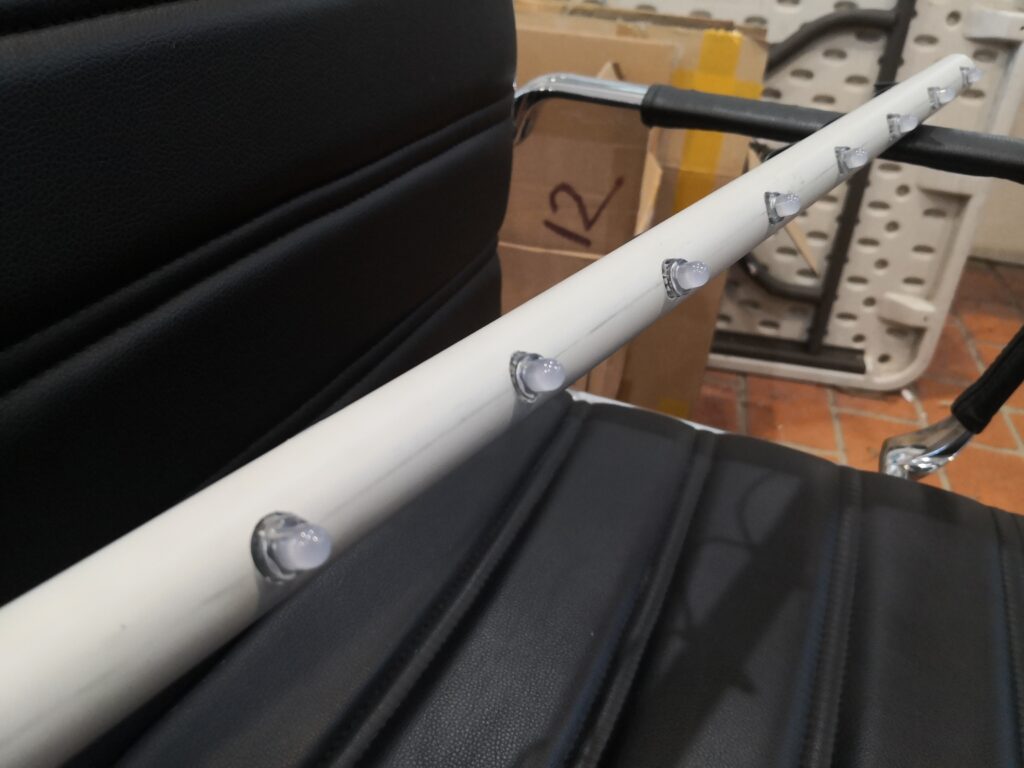
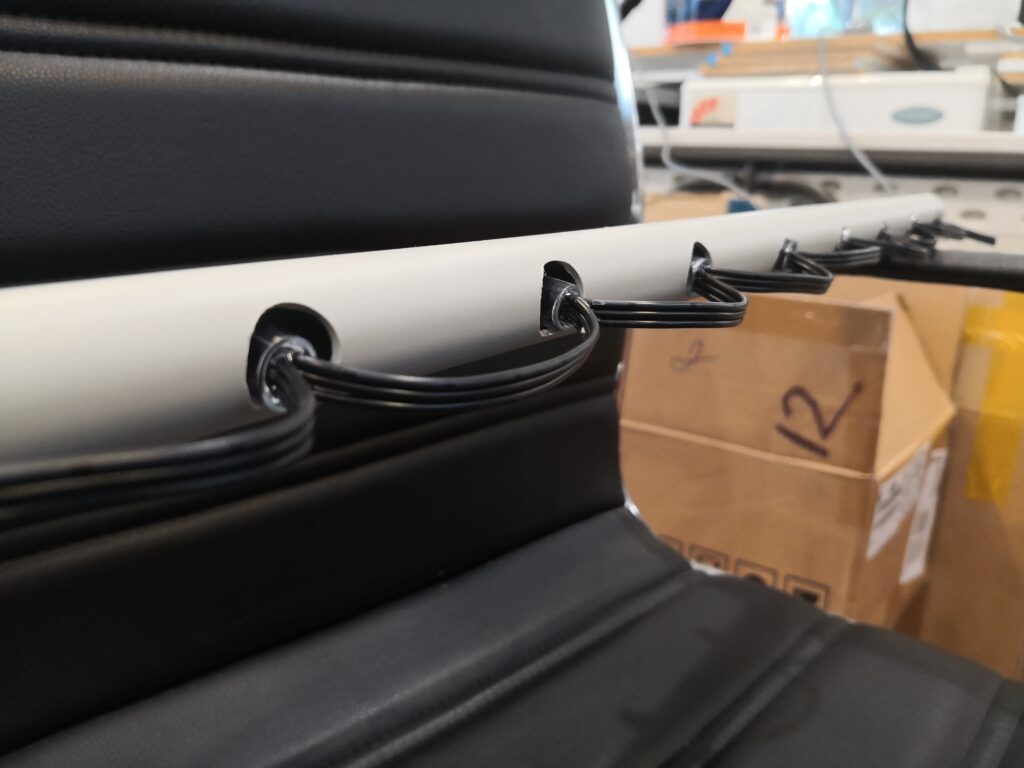
The roof lines are 12mm front holes drilled at 3″ / 75mm spacing in 25mm conduit. On the back, a larger 18mm hole facilitates the insertion of the pixel.
This was done by making a jig to hold the conduit without rotation, ensuring the lines were straight and not twisting around the conduit.
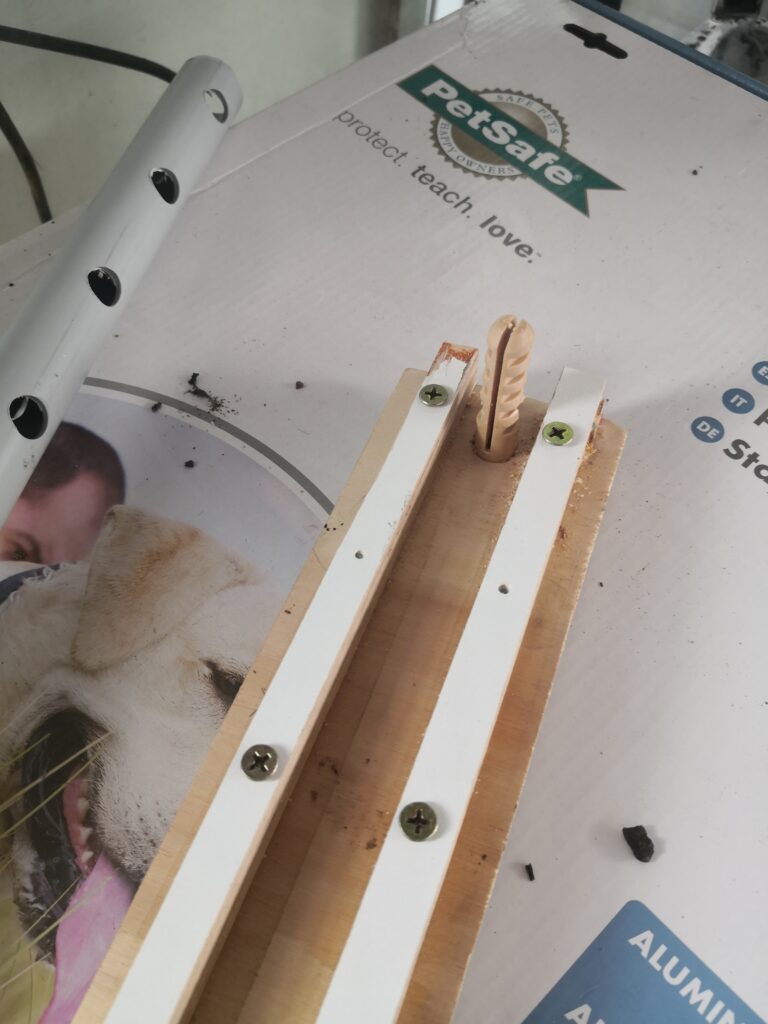
It was marked at the 75mm centres, and the first hole drilled through with a 12mm step bit, front and back. This was then inserted onto the jigs locating pin.
Finally a 3mm drill was used to pilot hole from the front, and out the back for each pixel position. These were then enlarged with a step bit to 12mm (front) and 18mm (back). All in all, lots of drilling.
Mounting the Roof Lines
A picture is worth a thousand words. A video is worth even more.