
Disclaimer
All text below is based on my discoveries and what I think is correct. That said, it’s likely full of holes and may not work in your situation. Before you go blindly applying what you read below, understand it, and make sure you know what you’re doing. If you are unsure, STOP, and don’t proceed.
I take ZERO responsibility for any damage you cause to your cape, eeprom, or FPP installation.
Overview
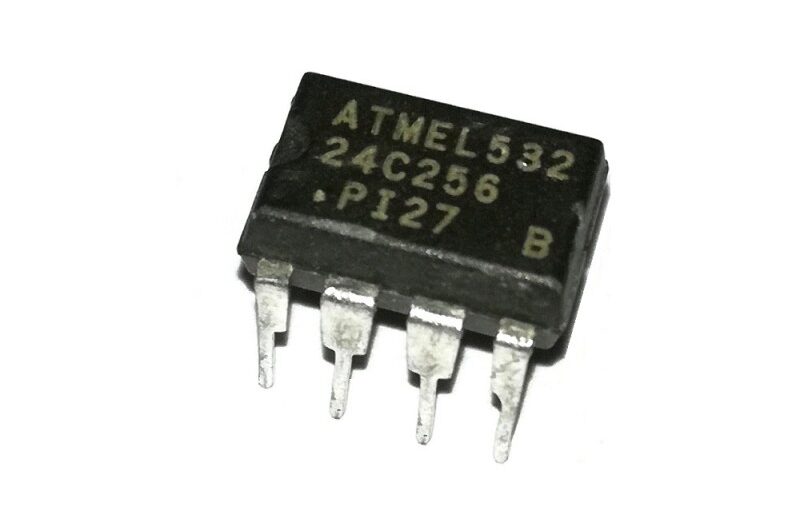
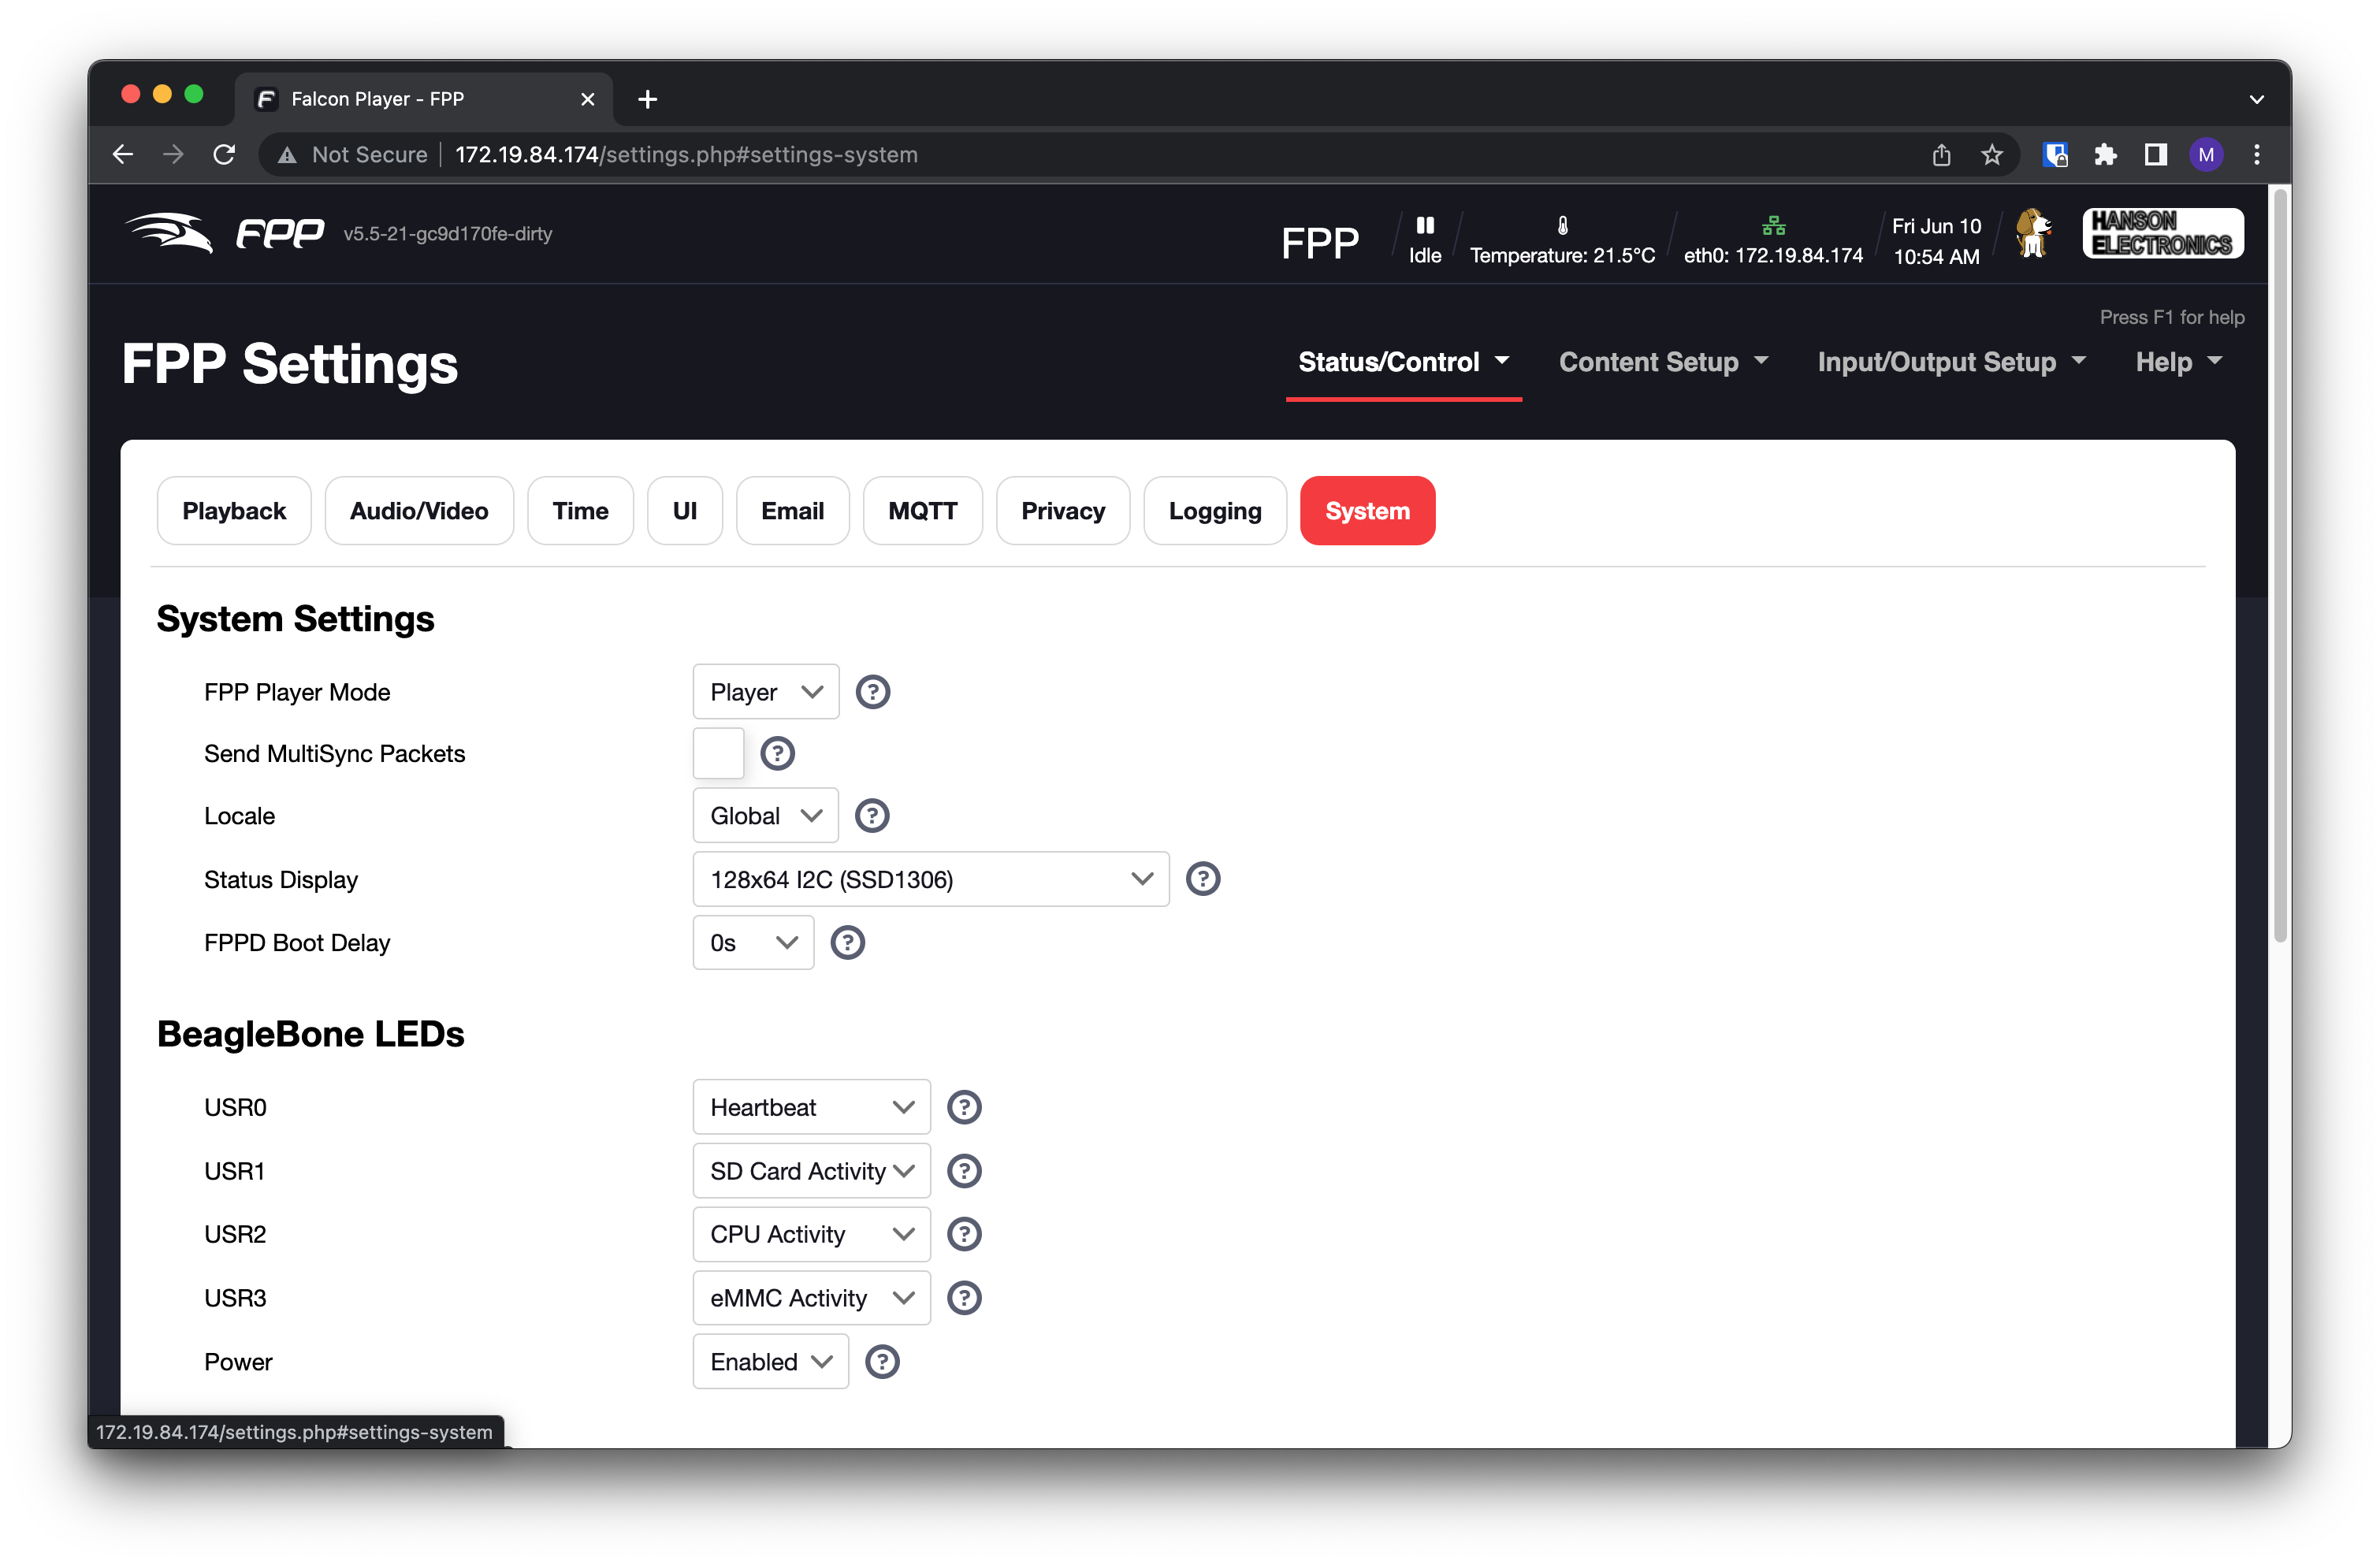
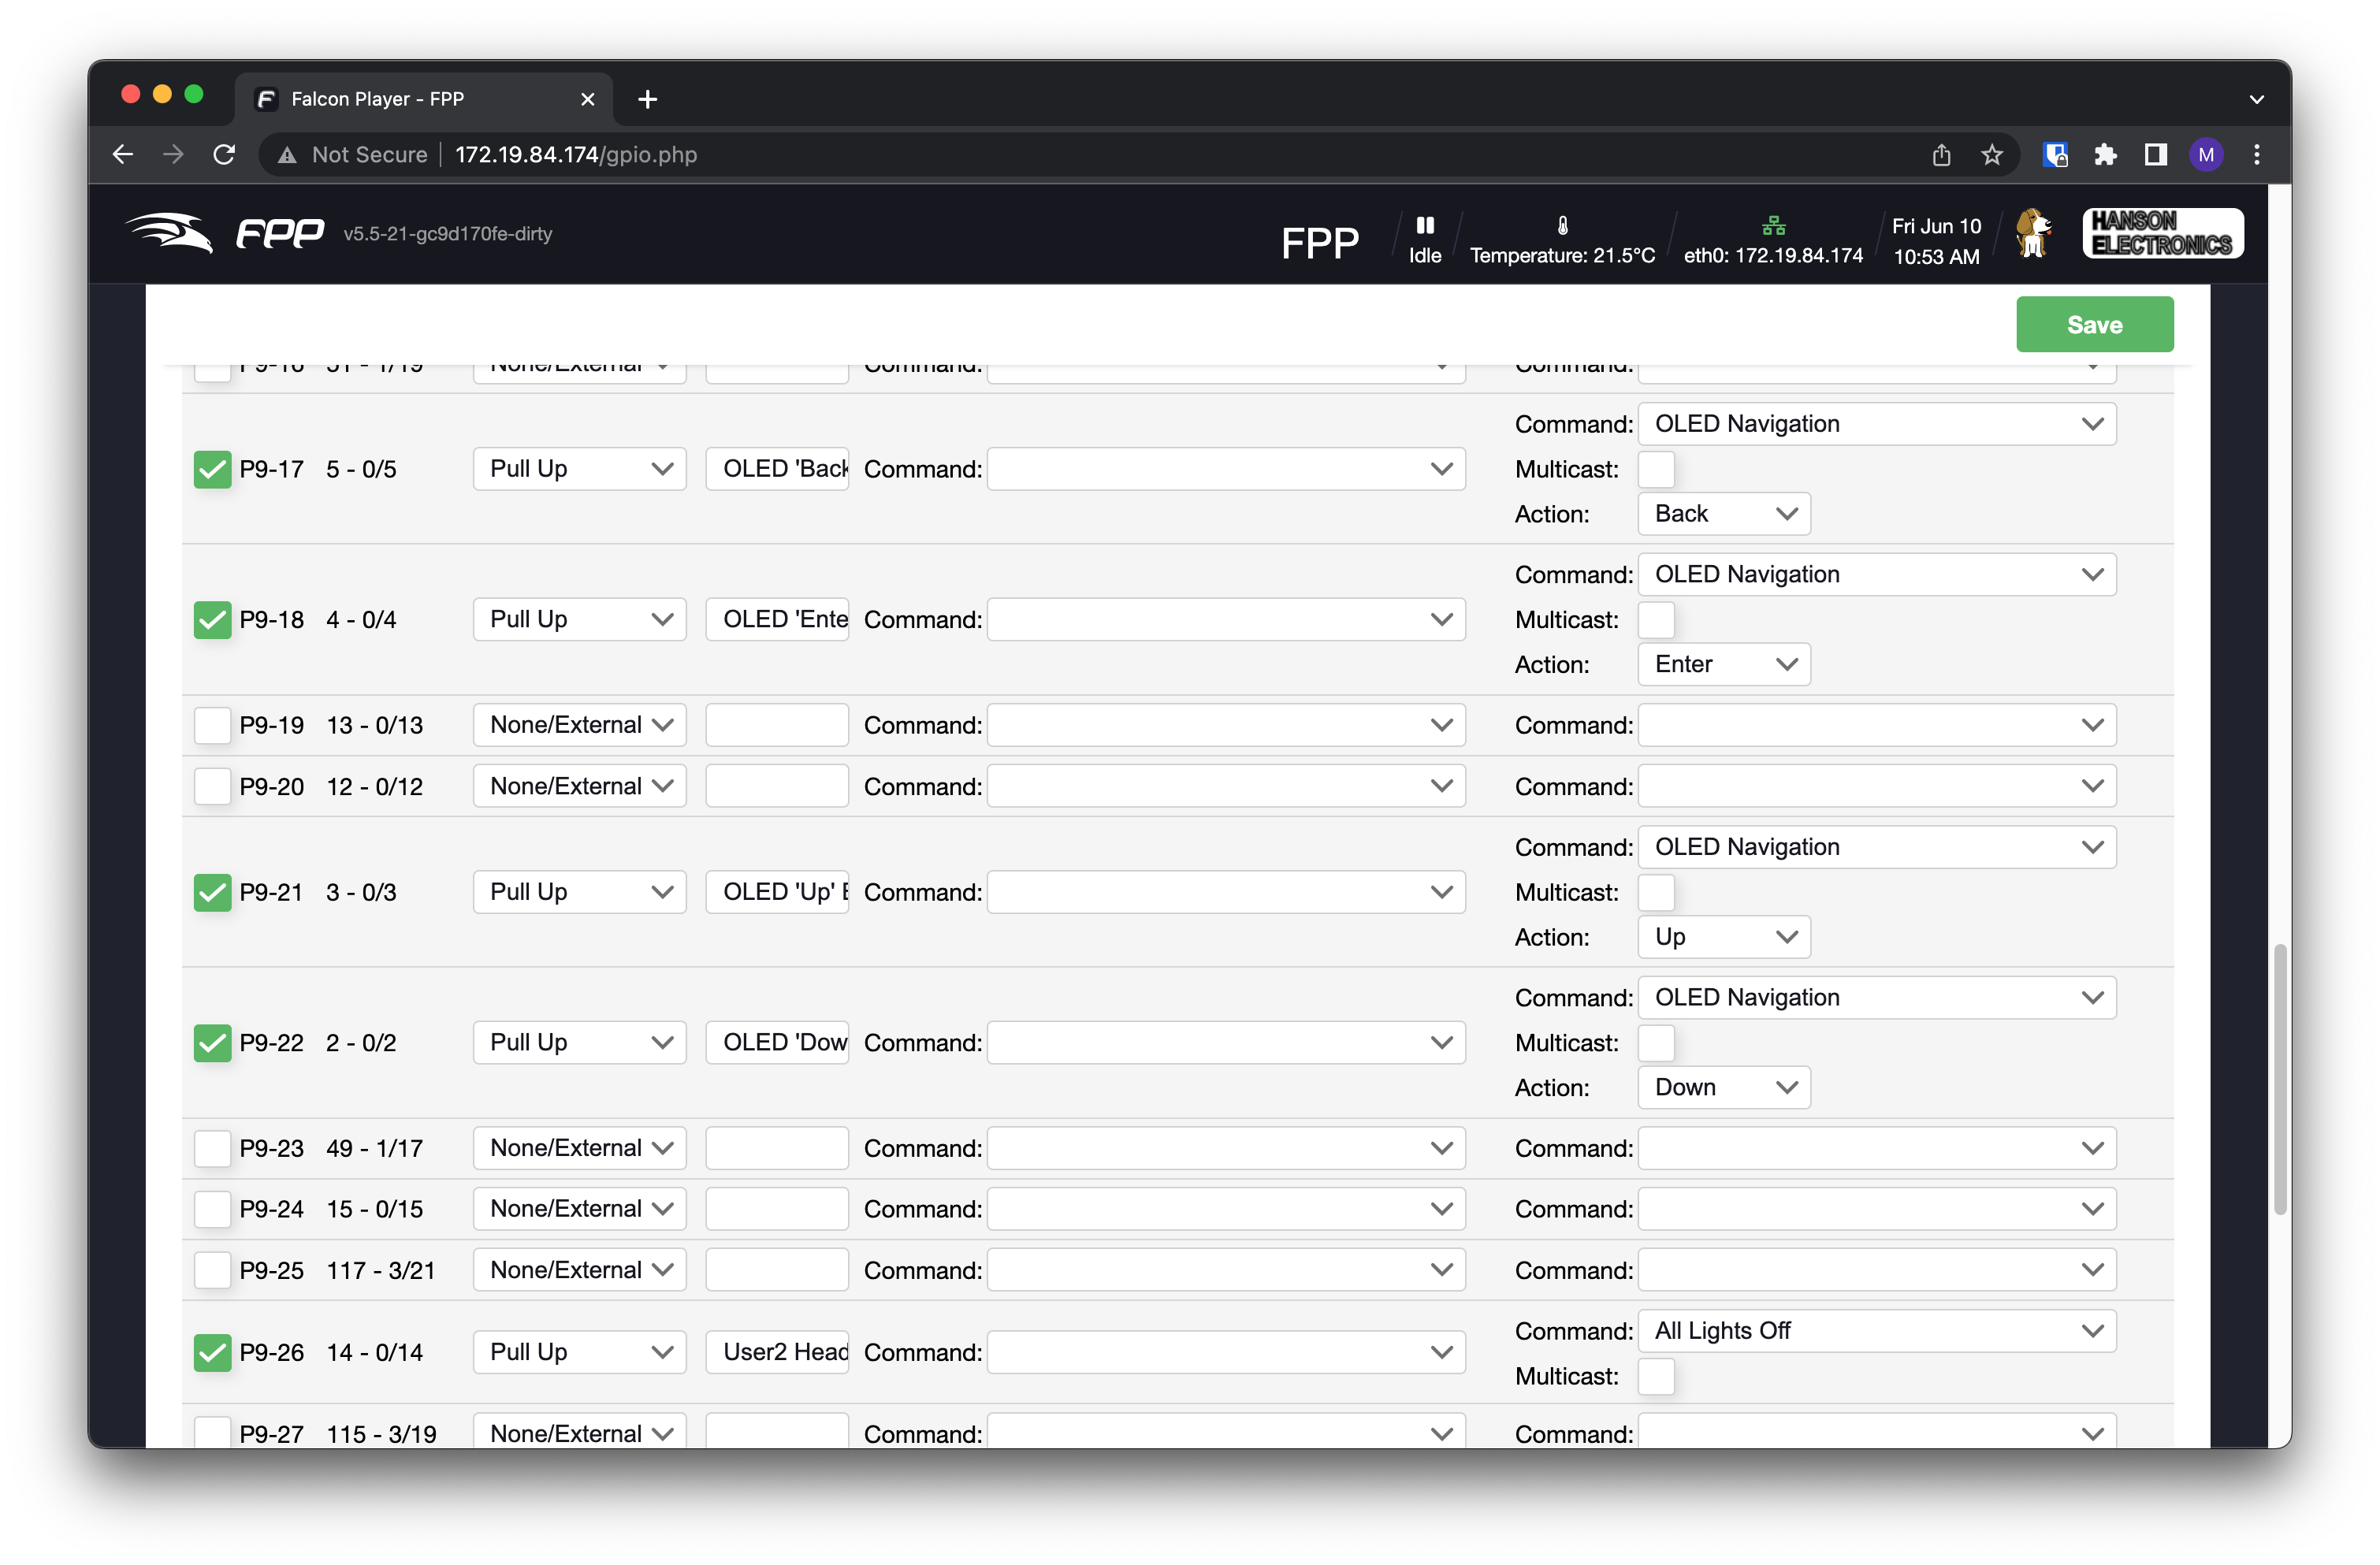
The pixel driving cape I will be primarily using with BBB, the Hanson Electronics HE123, comes with an onboard 24c256 EEPROM, which can store up to 32kB of data. This model EEPROM is supported with FPP as a means for the cape to automatically configure certain elements of FPP, such as the GPIO pins for the pixel outputs and button inputs, the OLED screen, temperature sensor, and more.
By default, however, this EEPROM comes un-programmed, and therefore FPP requires manual setup, and does not operate ‘correctly’ with the xLights push functionality. My task was to figure out the EEPROM programming, so that it could be useful. This also plays into the new requirements for “Paid” FPP (let’s not get into the semantics of why/should/etc) – and the thought that a physical EEPROM would be loads better than a virtual one that doesn’t provide full functionality.
So what documentation is there? Very very little. A text file on the GitHub repository gives some vague information about how the EEPROM is structured, but nothing further as to what the files inside need to contain, or how any of the digital signature stuff works. So that’s where a bunch of reverse engineering came into play and reading though the source code.
Screenshots of it Operation
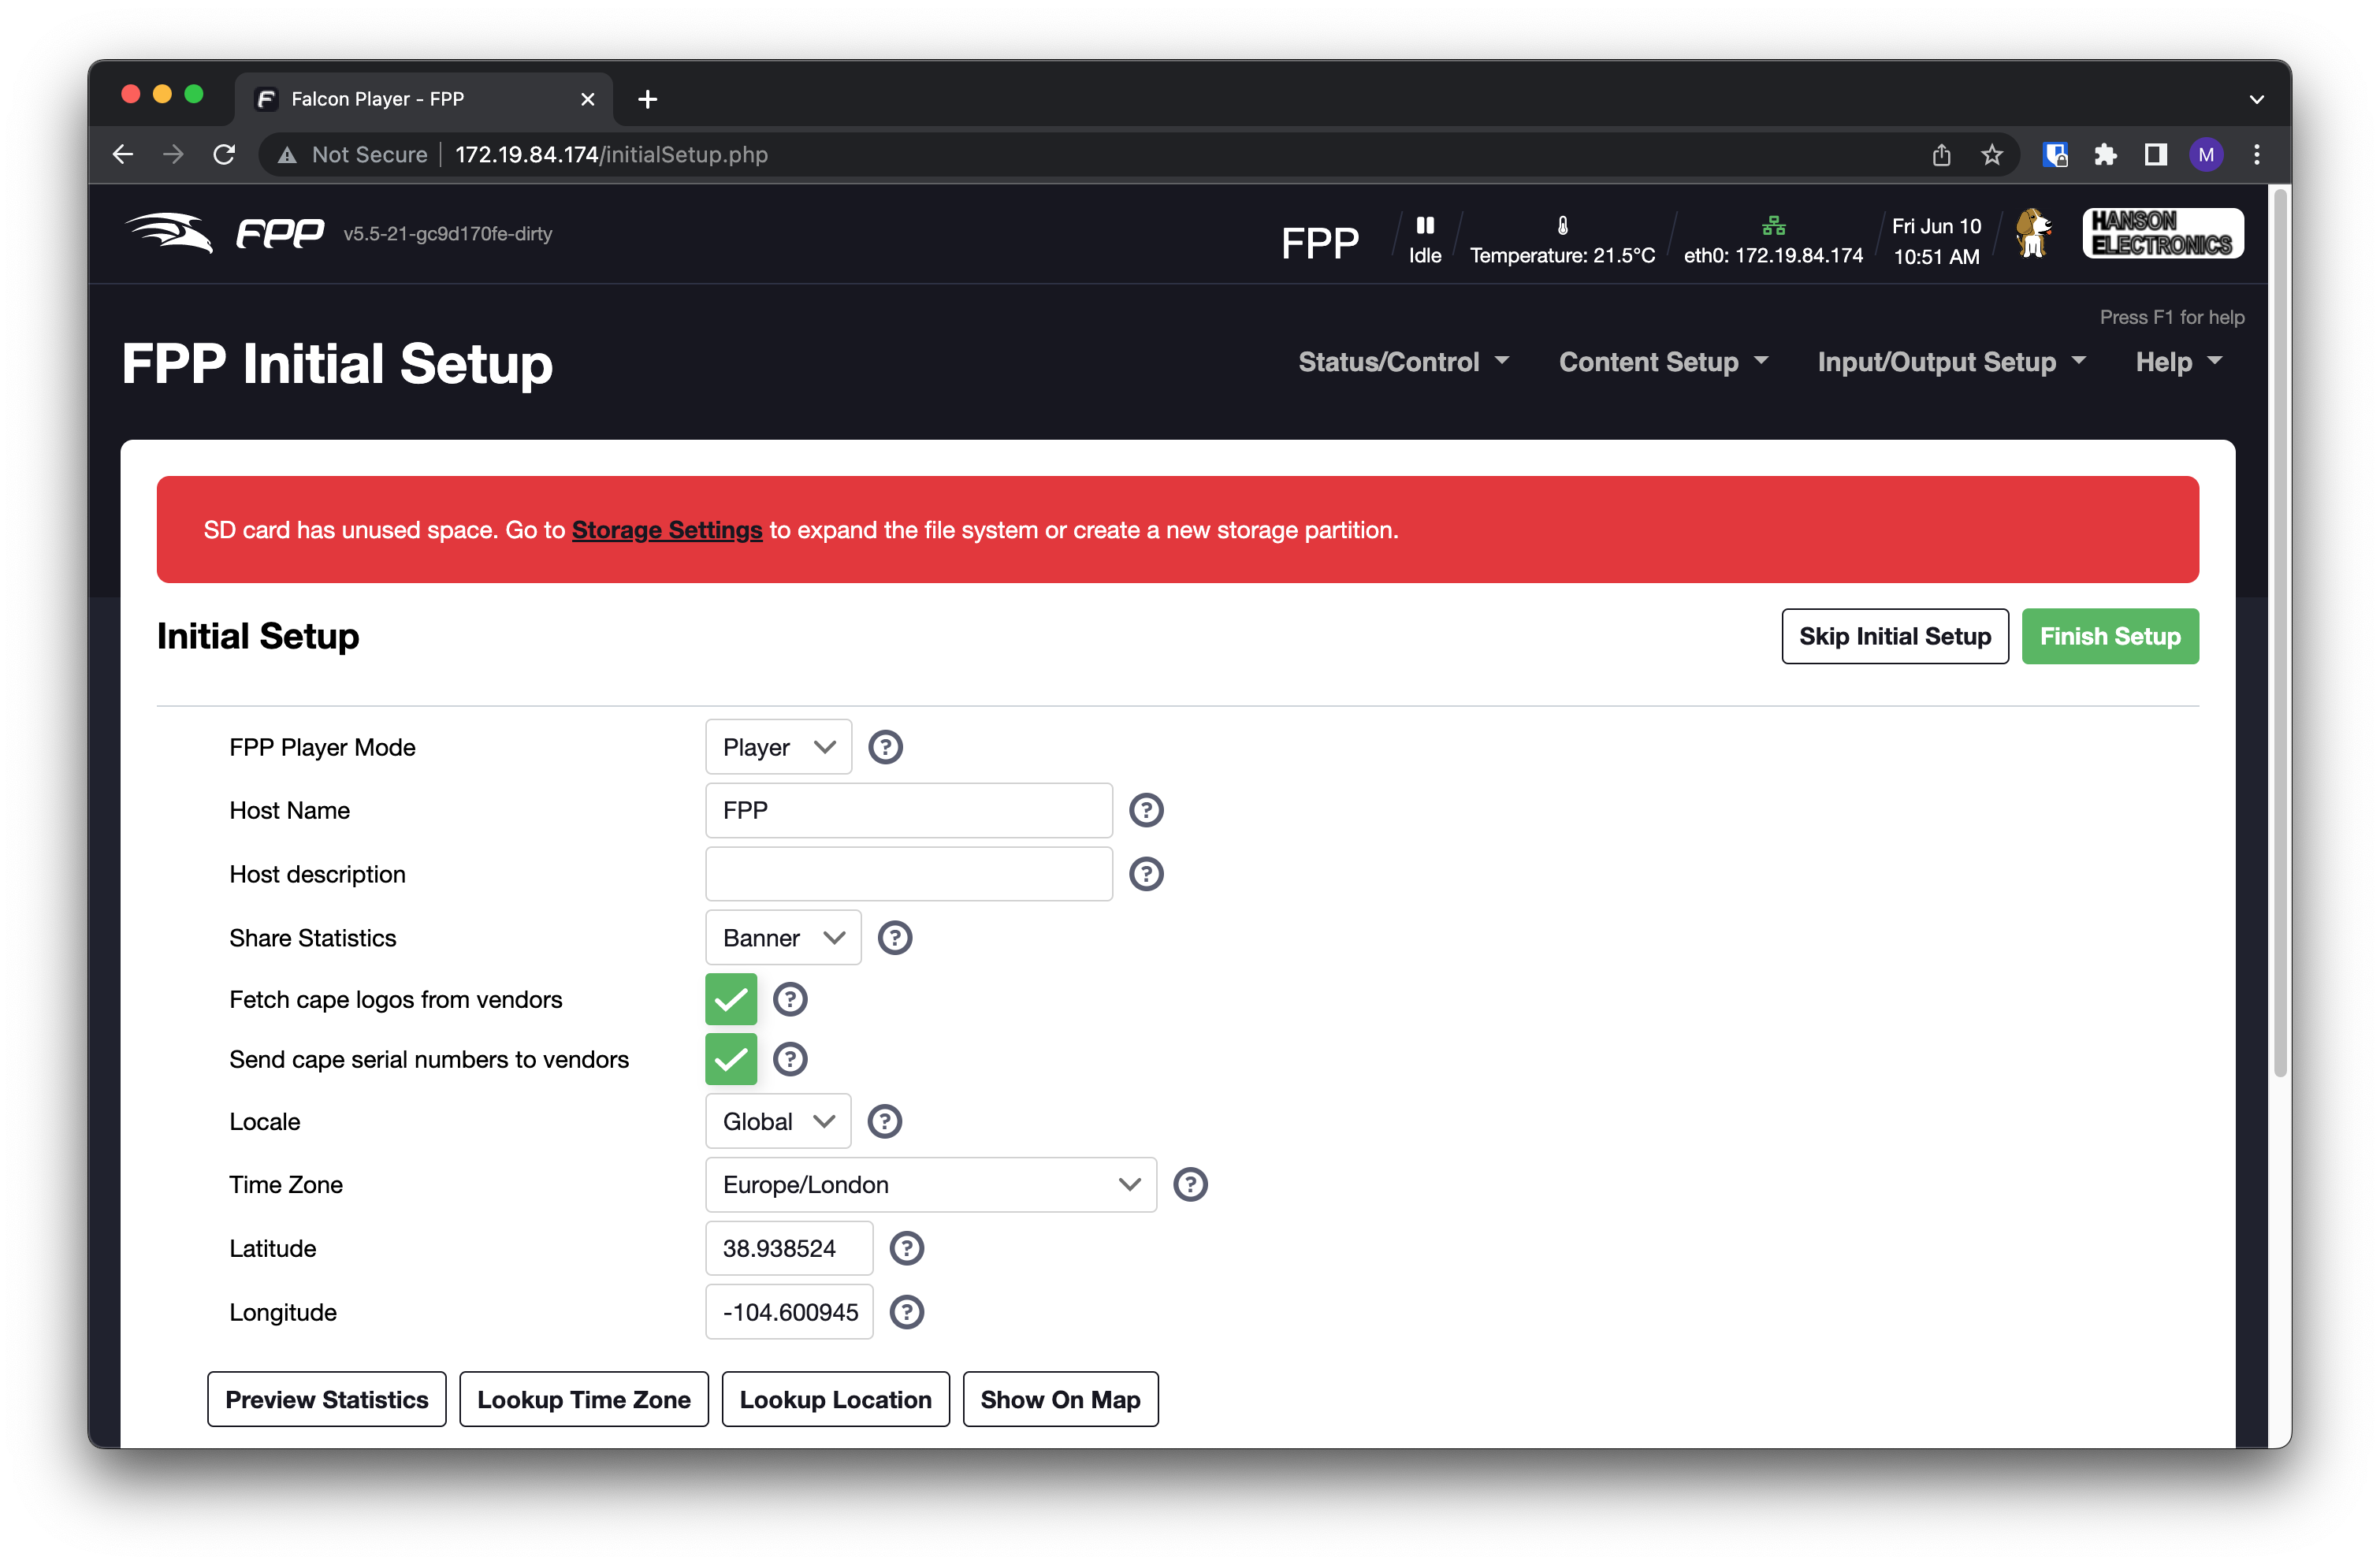
How does it all work?
The EEPROM is divided up into 3 main parts. The first is the header, which defines the cape name, version, serial number etc.
The second part is the digital signature. This is not required for some of the above to work, however, to get the Temperature sensors and smart receivers going, this is required. More on this later.
The third part is the configuration files. This is a set of files which describe the various pins and configuration. These are bundled up into a tar-ball, which is then included in the EEPROM.
Most of the work to get it all set up involved mucking about in a hex-editor, looking at the EEPROM files and tweaking until I got it right. There were some changes made to the CapeUtils.cpp file within FPP, primarily around adding printf() statements so that I could see where I was getting stuck.
Now: The fun bit:
Digital Signature
As mentioned above, the EEPROM must be signed for certain functionality to work. In FPP5.5, this is not particularly difficult as the public keys sit on the filesystem, and adding my own was a matter of copying on the file.
FPP6.0 presents a different challenge, as the keys have been moved within the code that was re-licensed to ‘CC-BY-ND’, and therefore changes and derivatives must not be distributed. As a proof-of-concept, I have got my own signature working fine on this too, but it will not be shown how I did it here – as to comply with the license agreement.
The only further thing to say on this is that I am hoping that the “purchased license” digital signing does not blow away certain parts of the EEPROM to limit functionality through that path, as opposed to what would be presented to the ‘preferred brands’
Creating the EEPROM for 5.5 followed these steps:
- Create a public / private key pair. This needs to be a 1024 bit RSA key pair
- Upload the public key into
/opt/fpp/scripts/keys/XXXX_pub.pem-> XXXX is the ‘name’ of the key, which is used in the EEPROM as a selector. - Create the JSON configuration files as needed by FPP
- Change unix owner/group and permissions on the JSON files to be consistent with FPP
- Create a tarball of these files, without any parent directory structure
tar -czvf ../tarball.tgz *
- Using the tarball as the basis for the EEPROM (
cp tarball.tgz eeprom.bin), the following was then performed in a hex editor on this file:- Add a footer, ‘0’ in ascii, followed by 5 nulls.
- Add a header, as the length of the tarball (in ascii), null padded to 6 characters, followed by the number “2” (meaning tgz tarball), a null character, then the filename “tmp/cape-info.tgz”, padded out with nulls to be 64 characters.
- Add a couple of other headers related to where the EEPROM will live and special data.
- Create a digital signature for the file, using openssl and the private key.
openssl dgst -sha256 -sign private_key.pem -out signature.sha256 eeprom.bin
- Add the digital signature to the beginning of the eeprom file, in the format that FPP expects
- Add the final header before all of this describing the EEPROM, Name, Serial, Magic Number, etc.
- This finished file is then uploaded to the EEPROM – either using the “Update EEPROM” button in FPP, or in the Linux console
-
dd if=eeprom.bin of=/sys/bus/i2c/devices/2-0050/eeprom bs=1
-
A reboot, and then it’s all done!
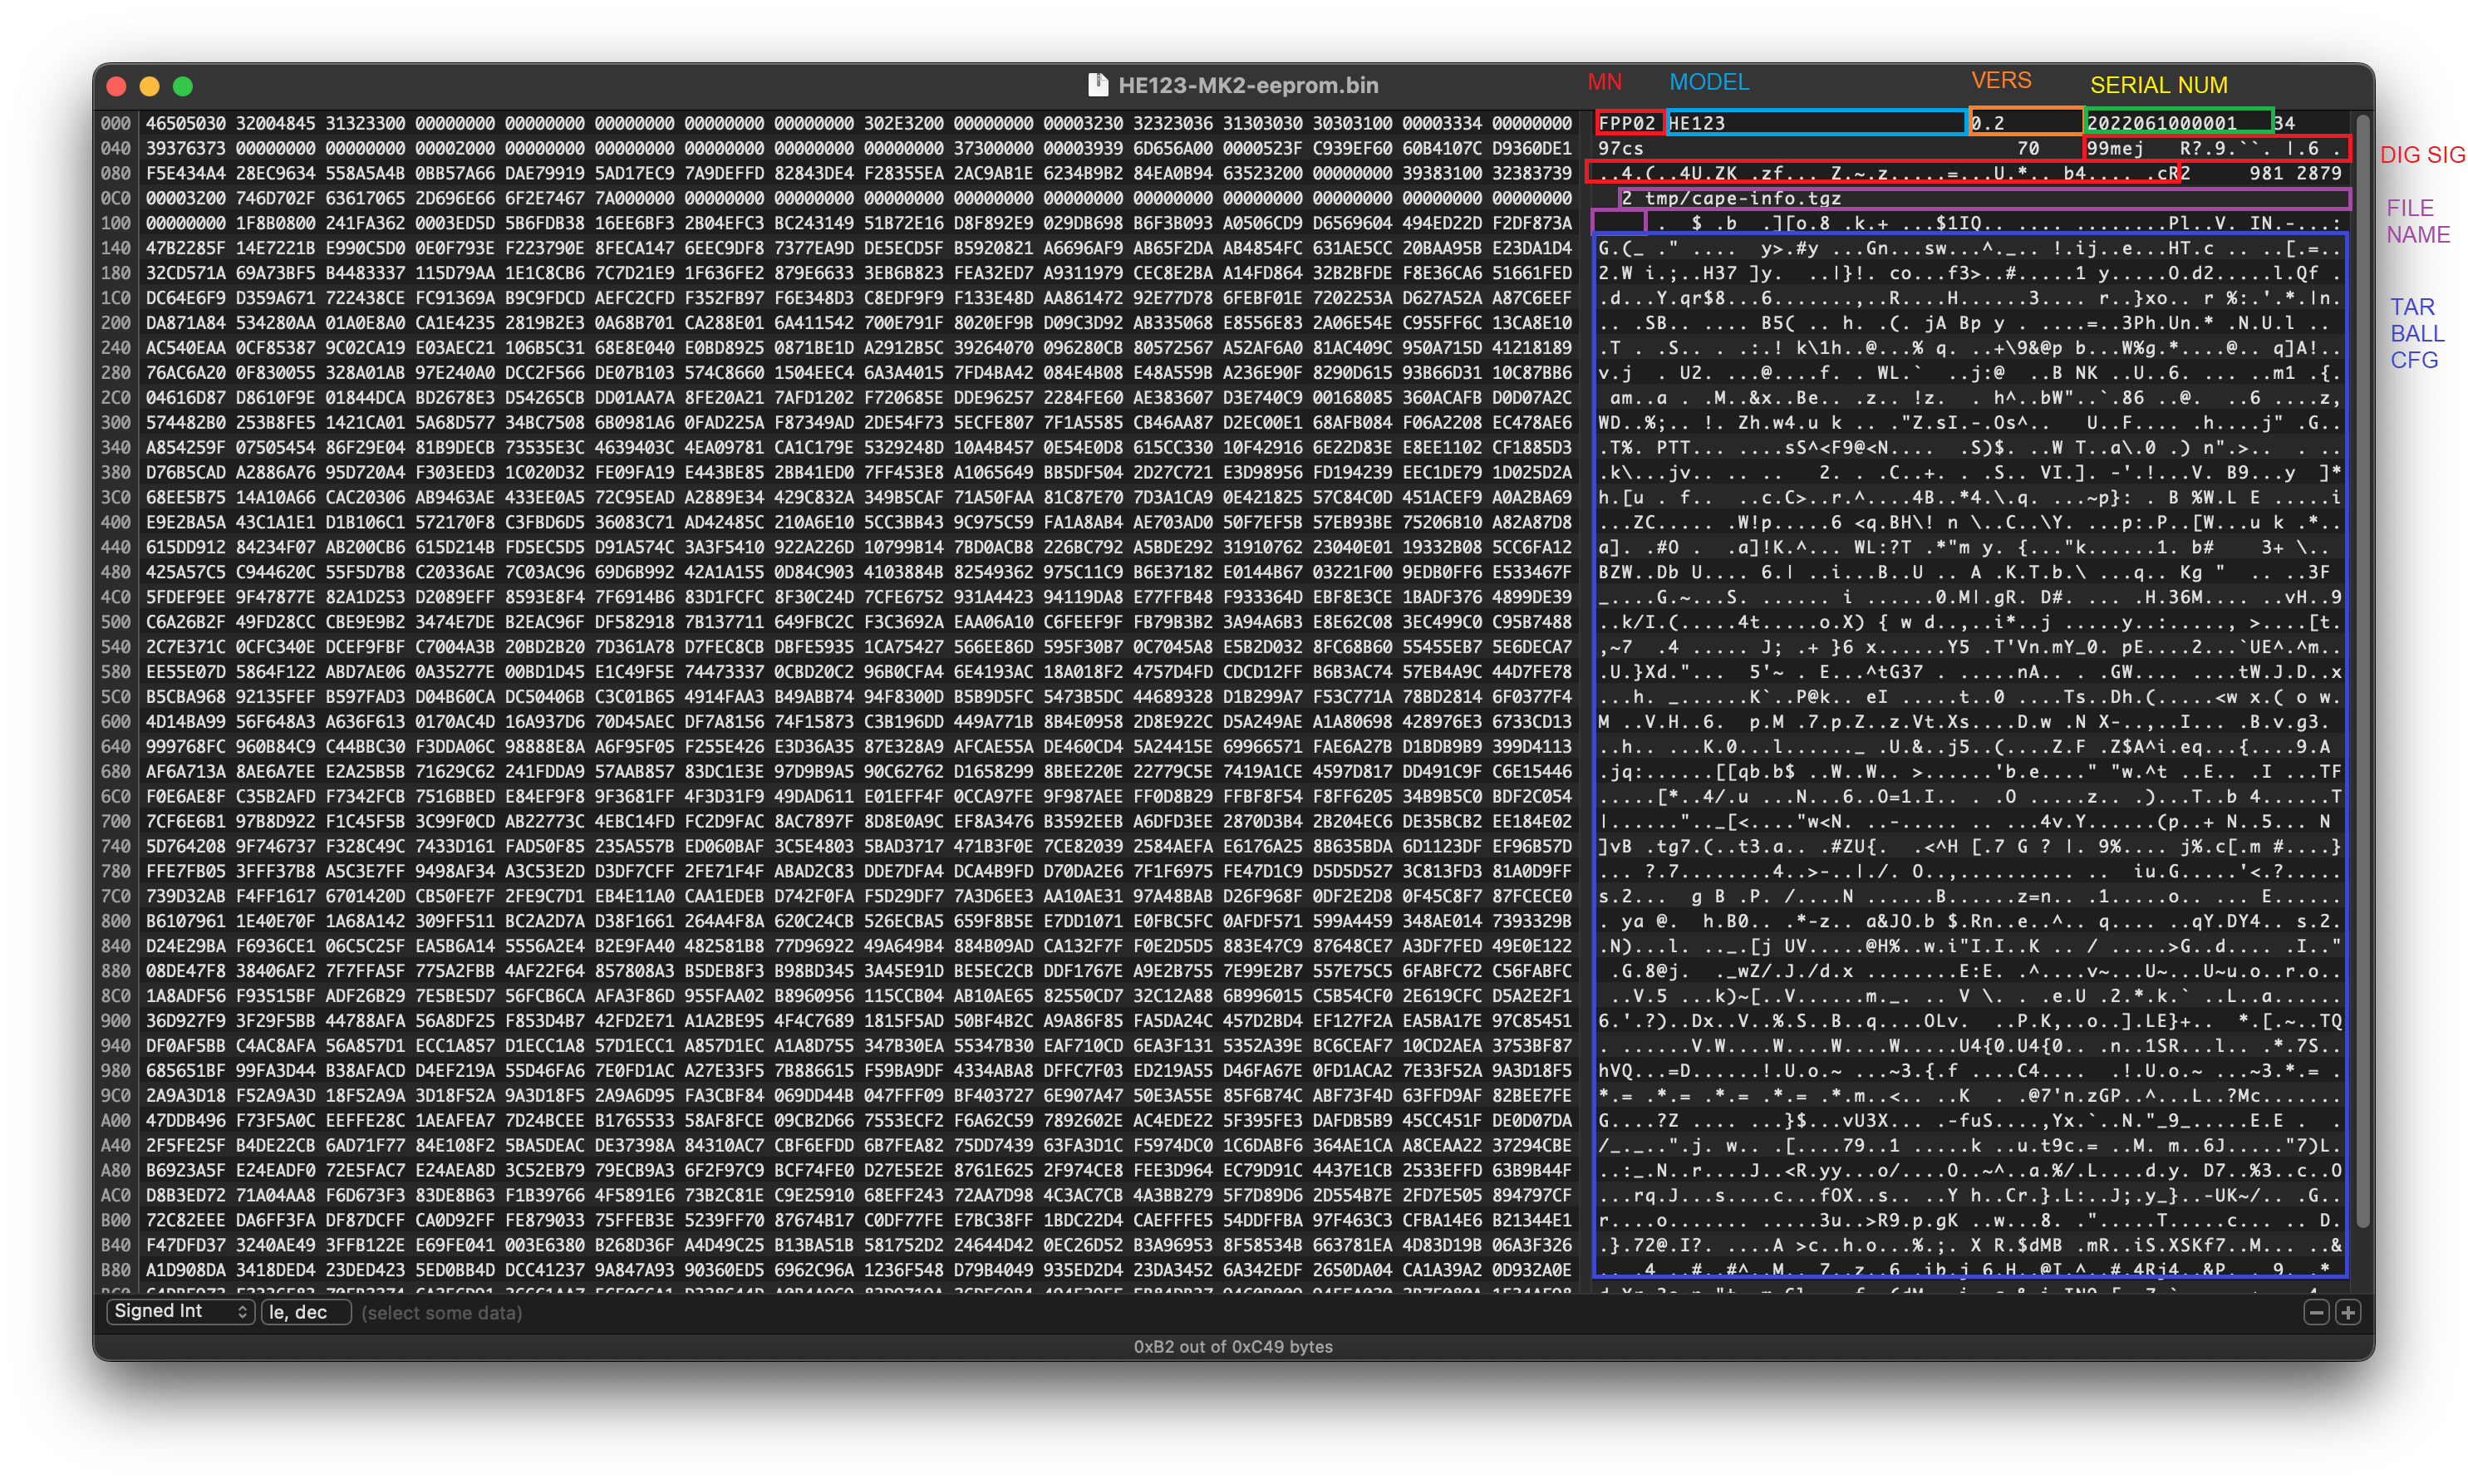
EEPROM Format as follows
- First red = Magic Number
- Blue = Cape Model
- Orange = Version
- Green/Yellow = Cape Serial Number
- Second red = Digital Signature. As you can see there is a 99mej – this mej is the name of my key pair, and matches the
mej_pub.pemfile on FPP. - Purple = Tarball Header / Filename
- Dark Blue = tarball contents
Things to consider
Doing a full upgrade by changing branches will remove the custom private key that was put onto the filesystem, as it’ll just re-instate the “authorised” ones. This will need to be copied back on with SCP if that happens.
In FPP6.0, the digital signature will be added by the shopfront website license server, as part of activating a certain number of outputs based on what’s purchased. A quick look at the code makes me think this will be a change in the JSON which says which outputs are licensed, the cape serial number, and the BBB/rPi serial number; and then the digital signature applied to the result. I’m certainly hoping that nothing else is modified from the original vendor specification on the license server. Because it’s digitally signed, re-instating those other features would be impossible without breaking the signature.
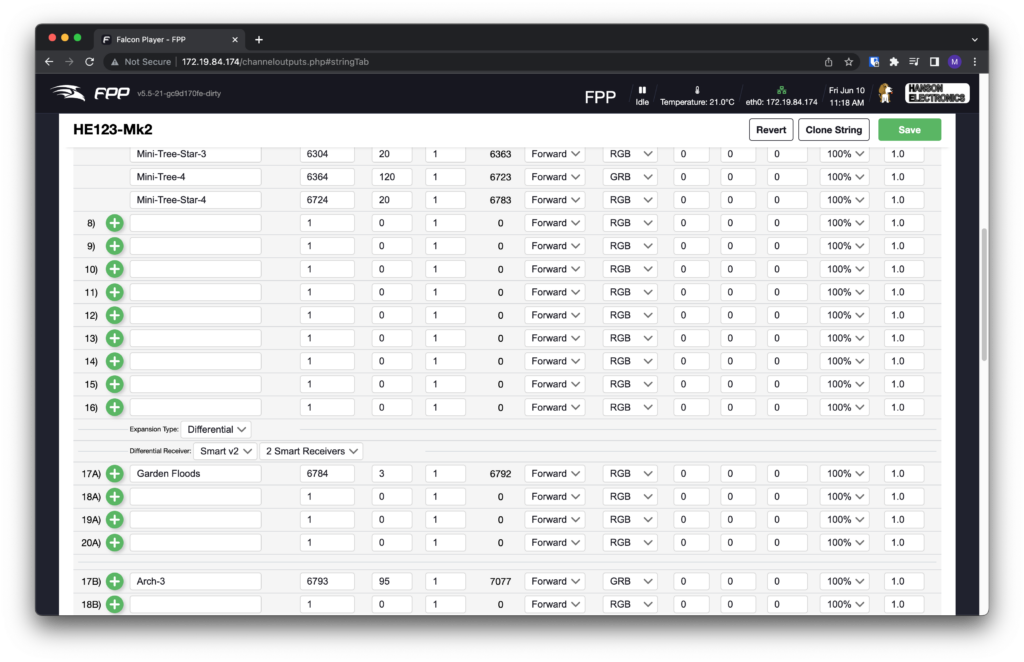
Another Cool Feature
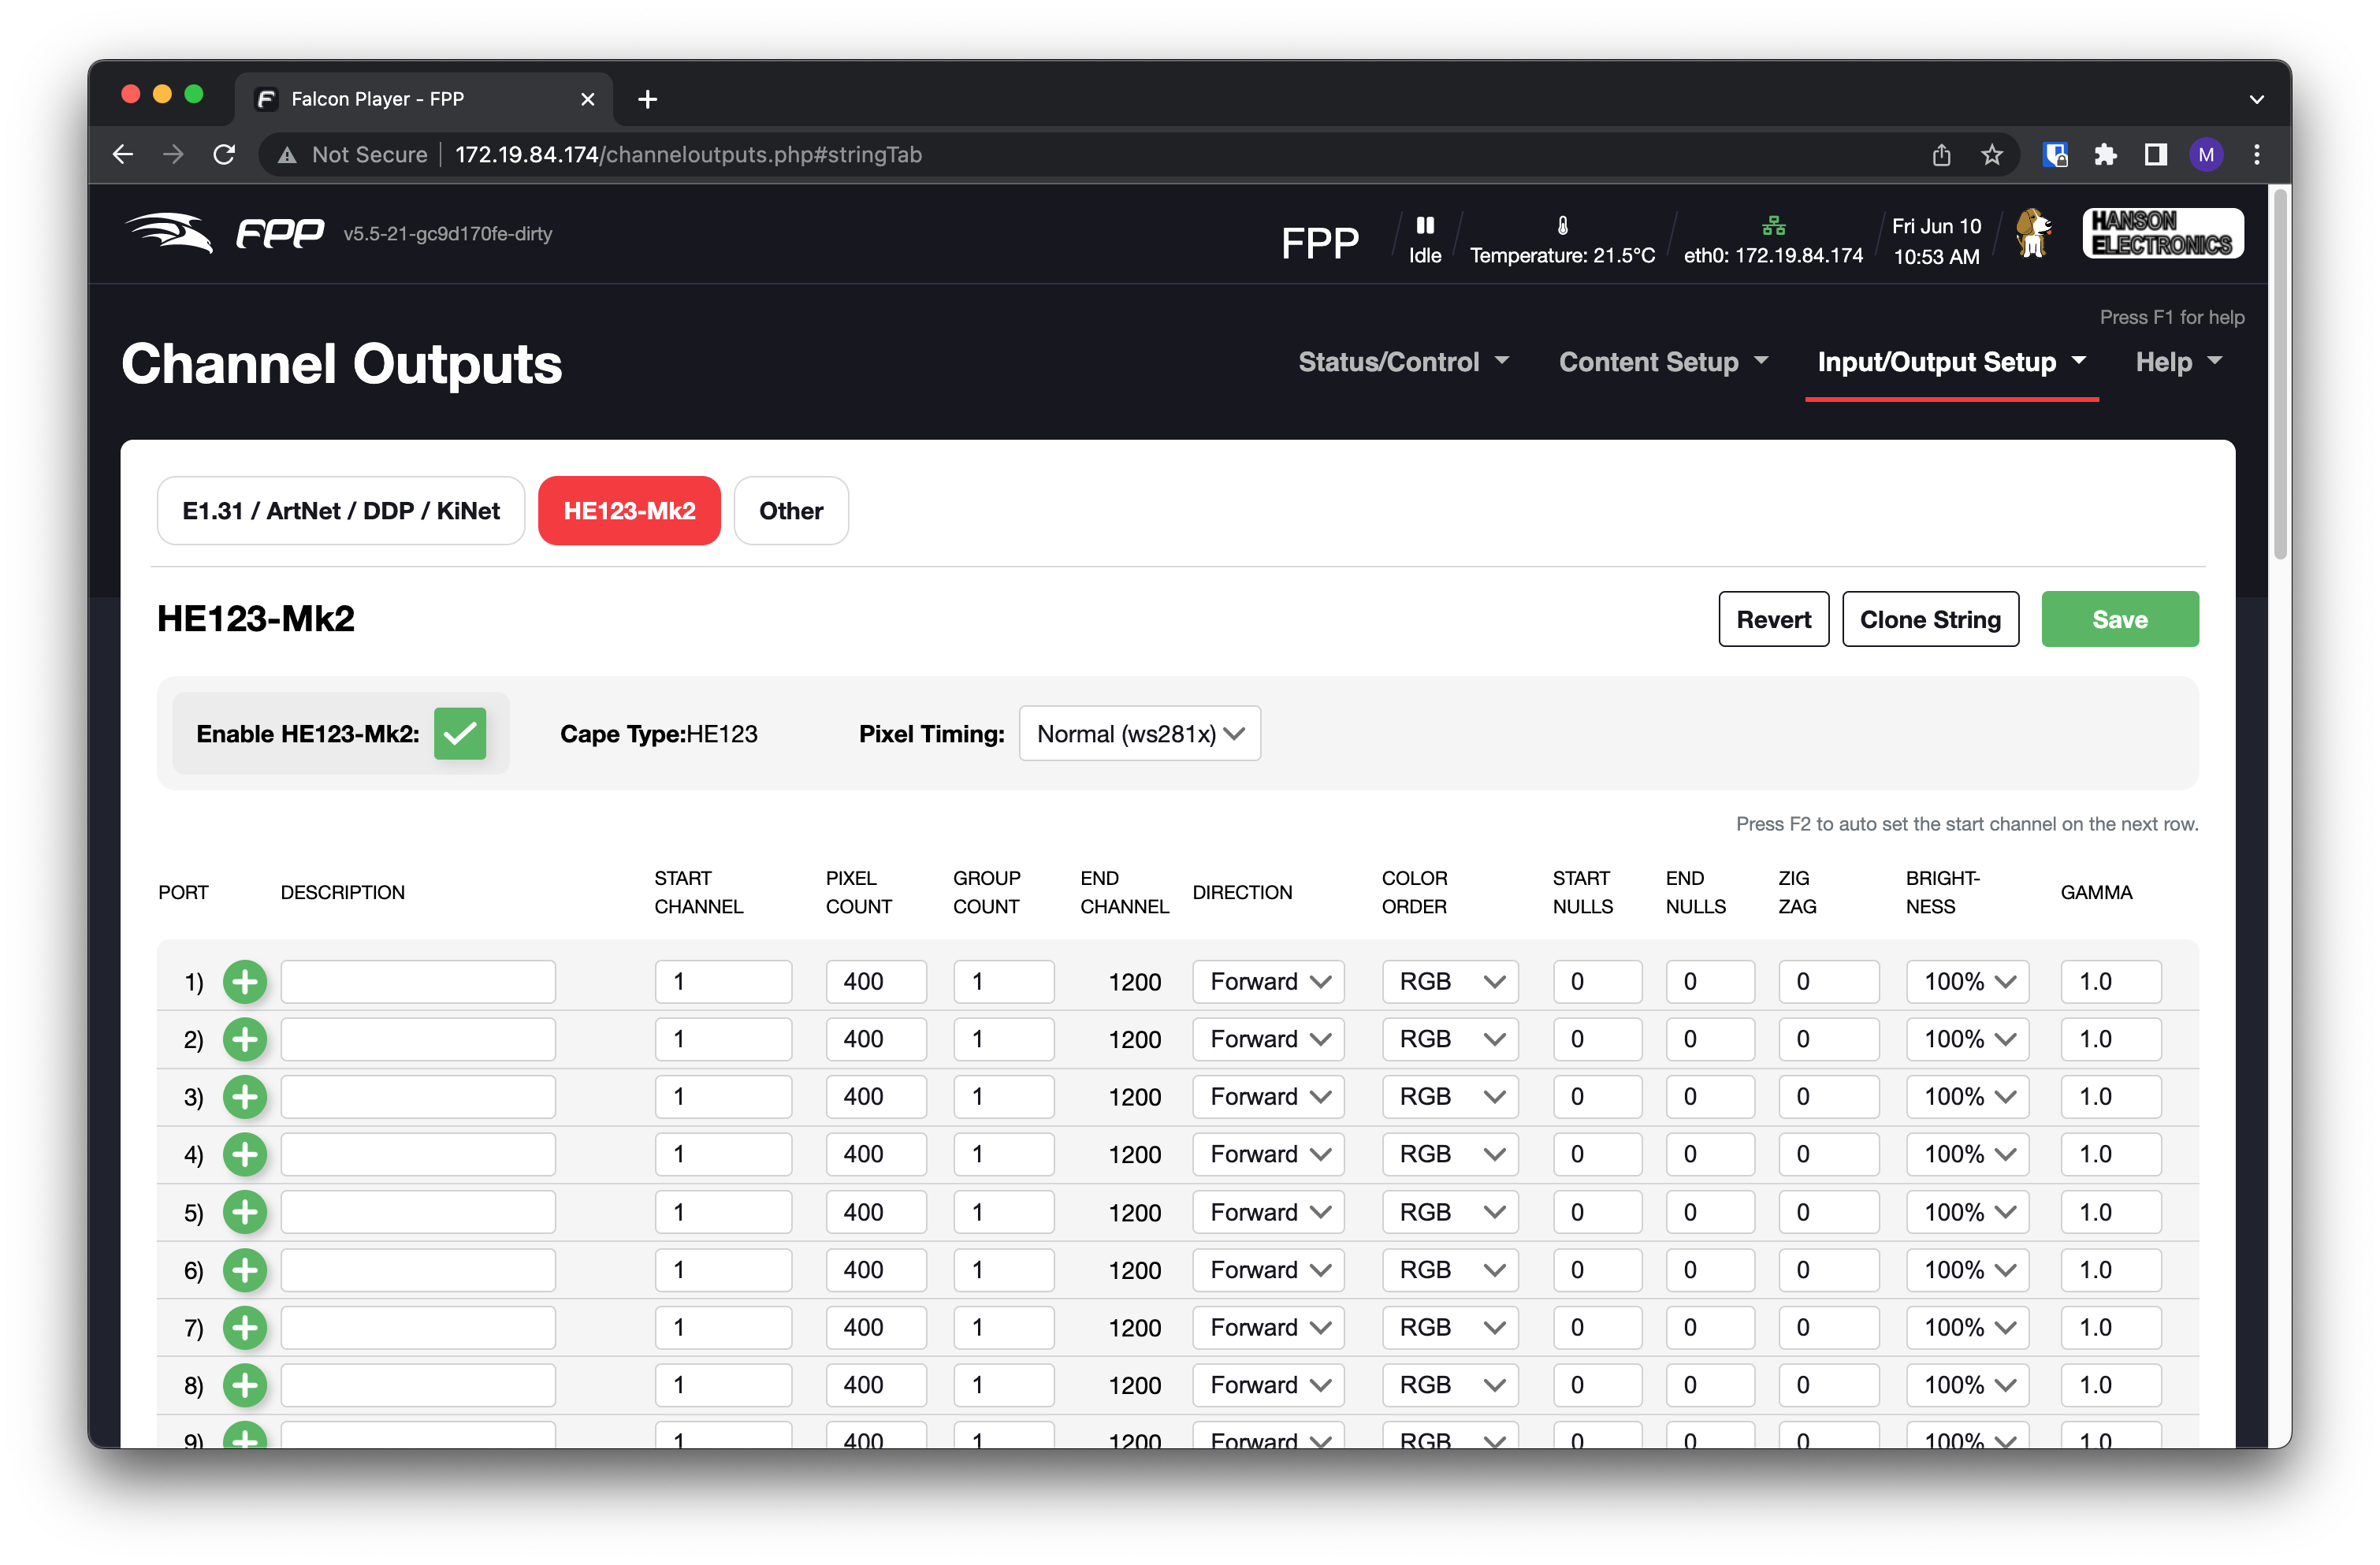
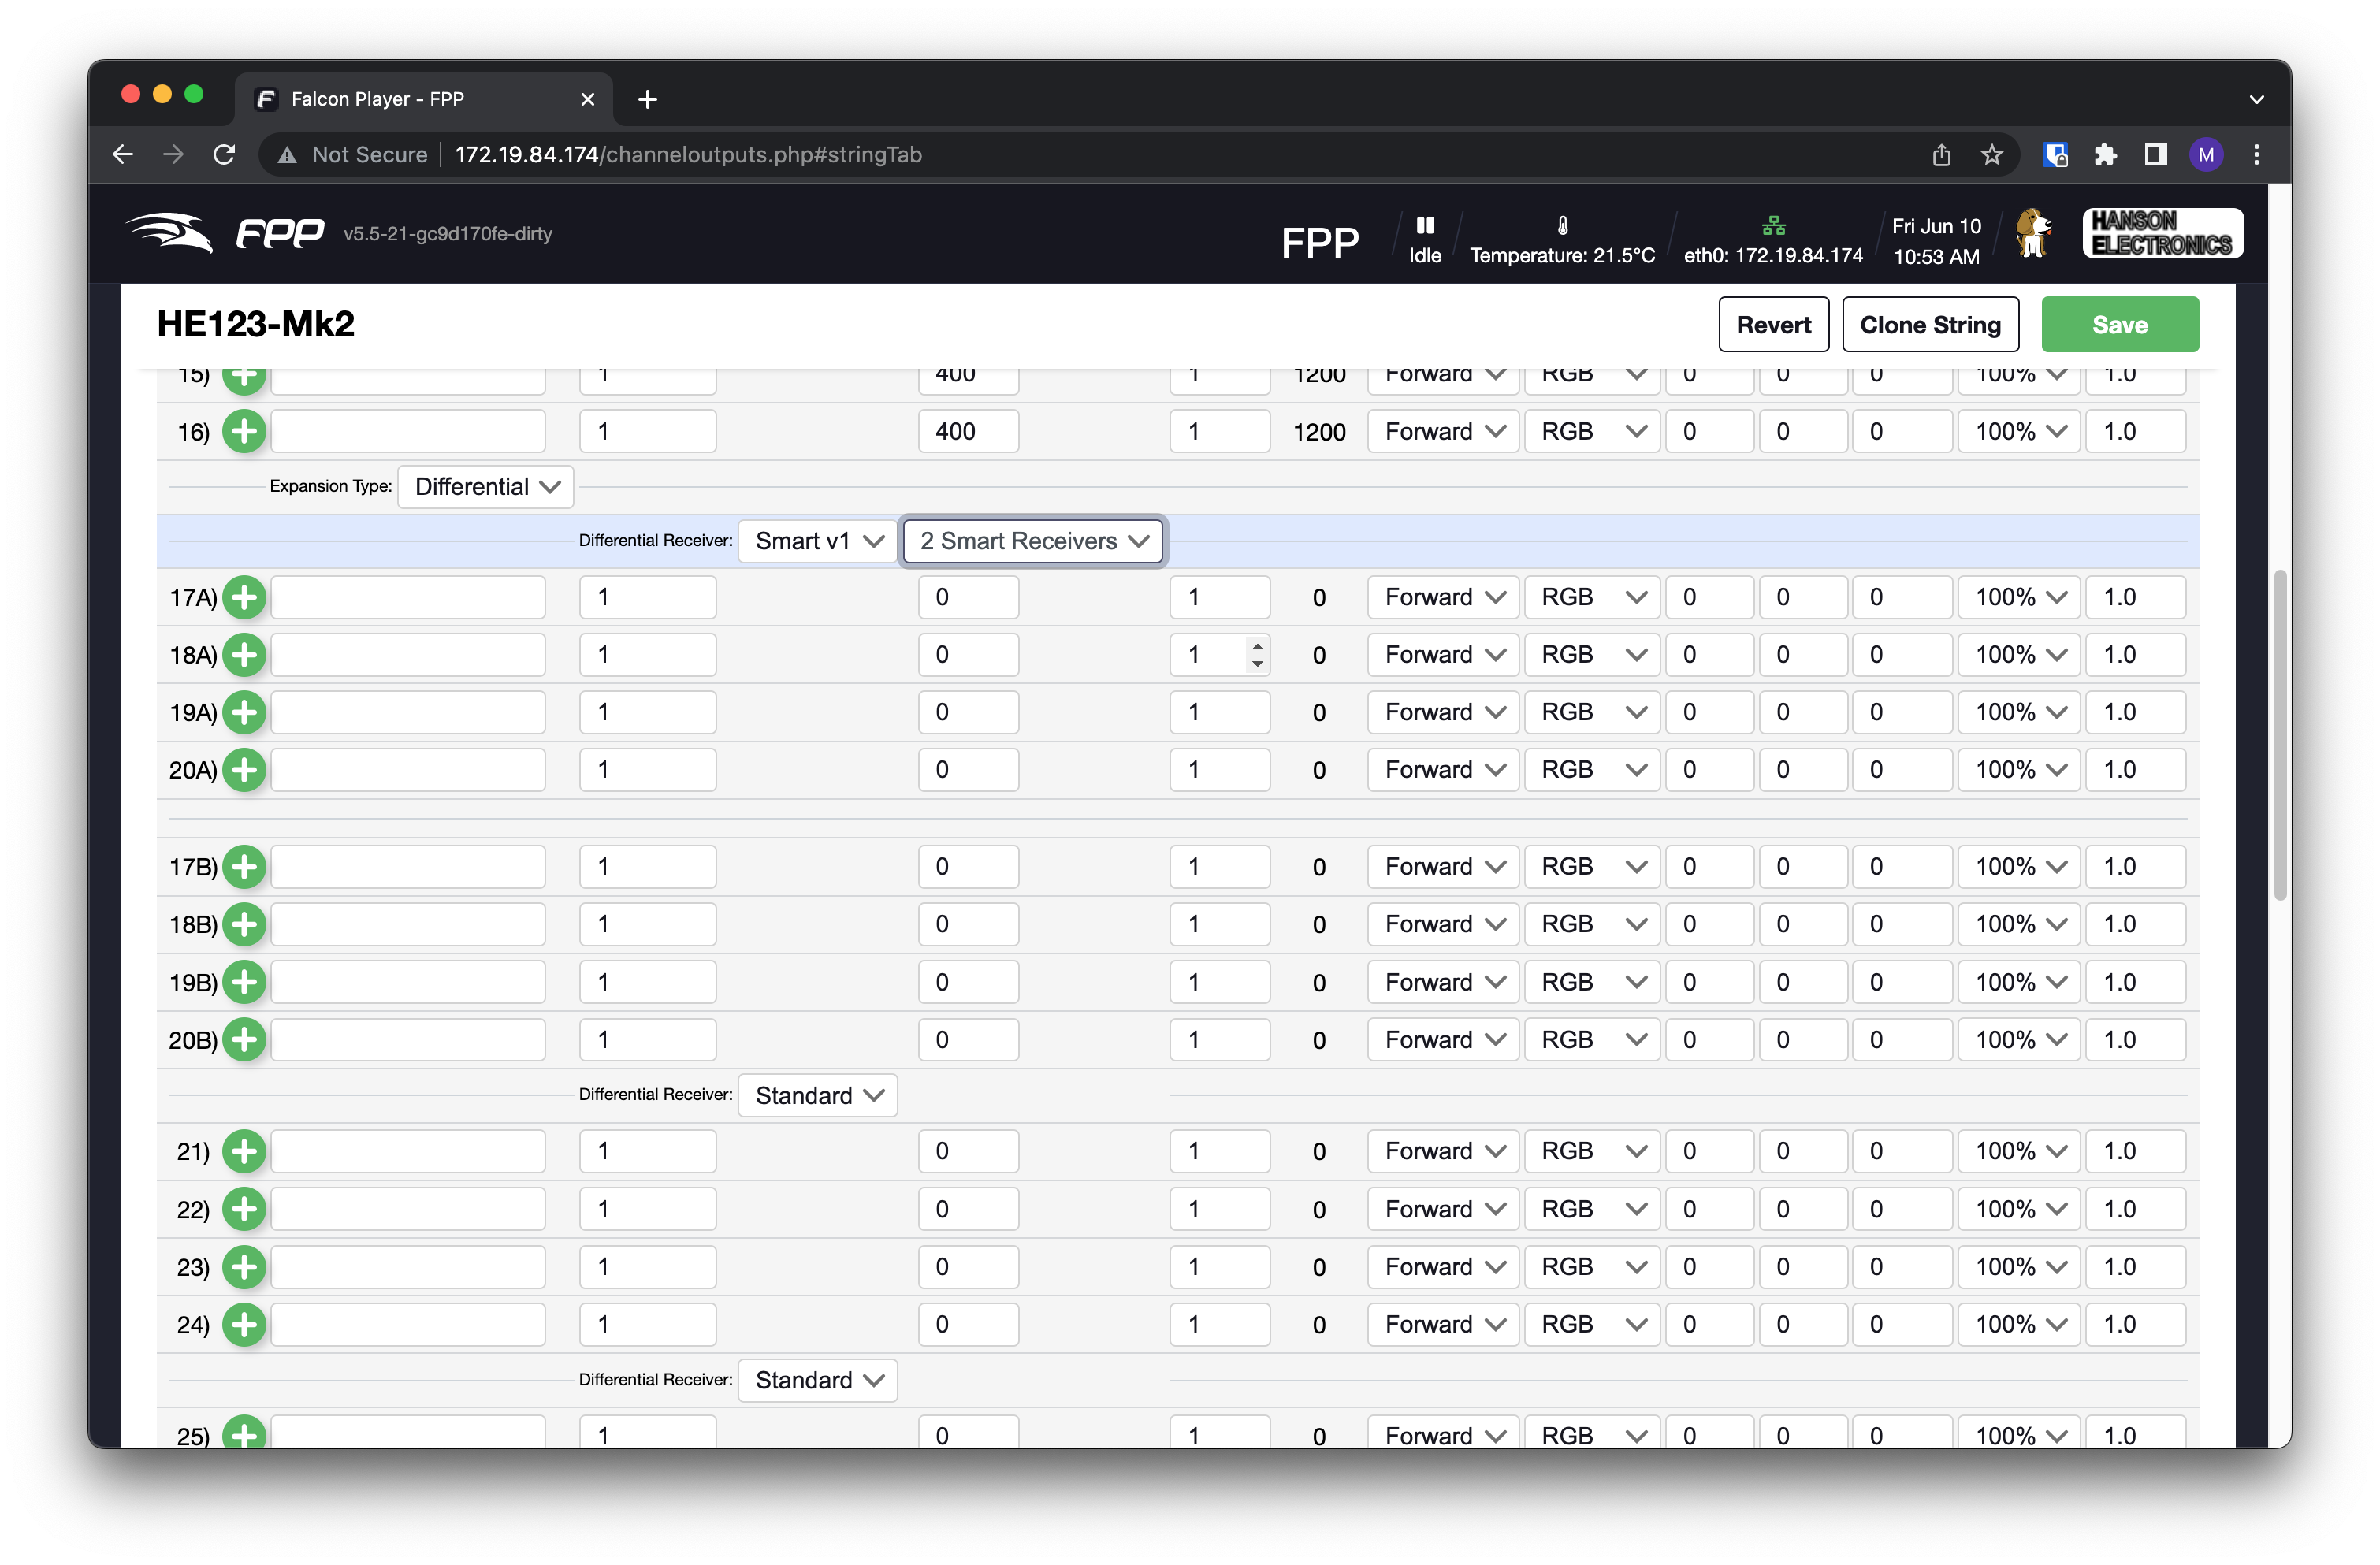
Push from xLights will work when set up as a Hanson HE123. This includes smart receivers. An example of what the output strings look like after a push is shown below.
Getting my EEPROM Files
I have created a generator which allows you to access my FPP EEPROMs. It generates a unique serial number for each device, so that way you can ensure that your FPP6.0 license will be specific to that cape, and not tied to a file that could be lost.
Access the EEPROM Generator by going to this site here.
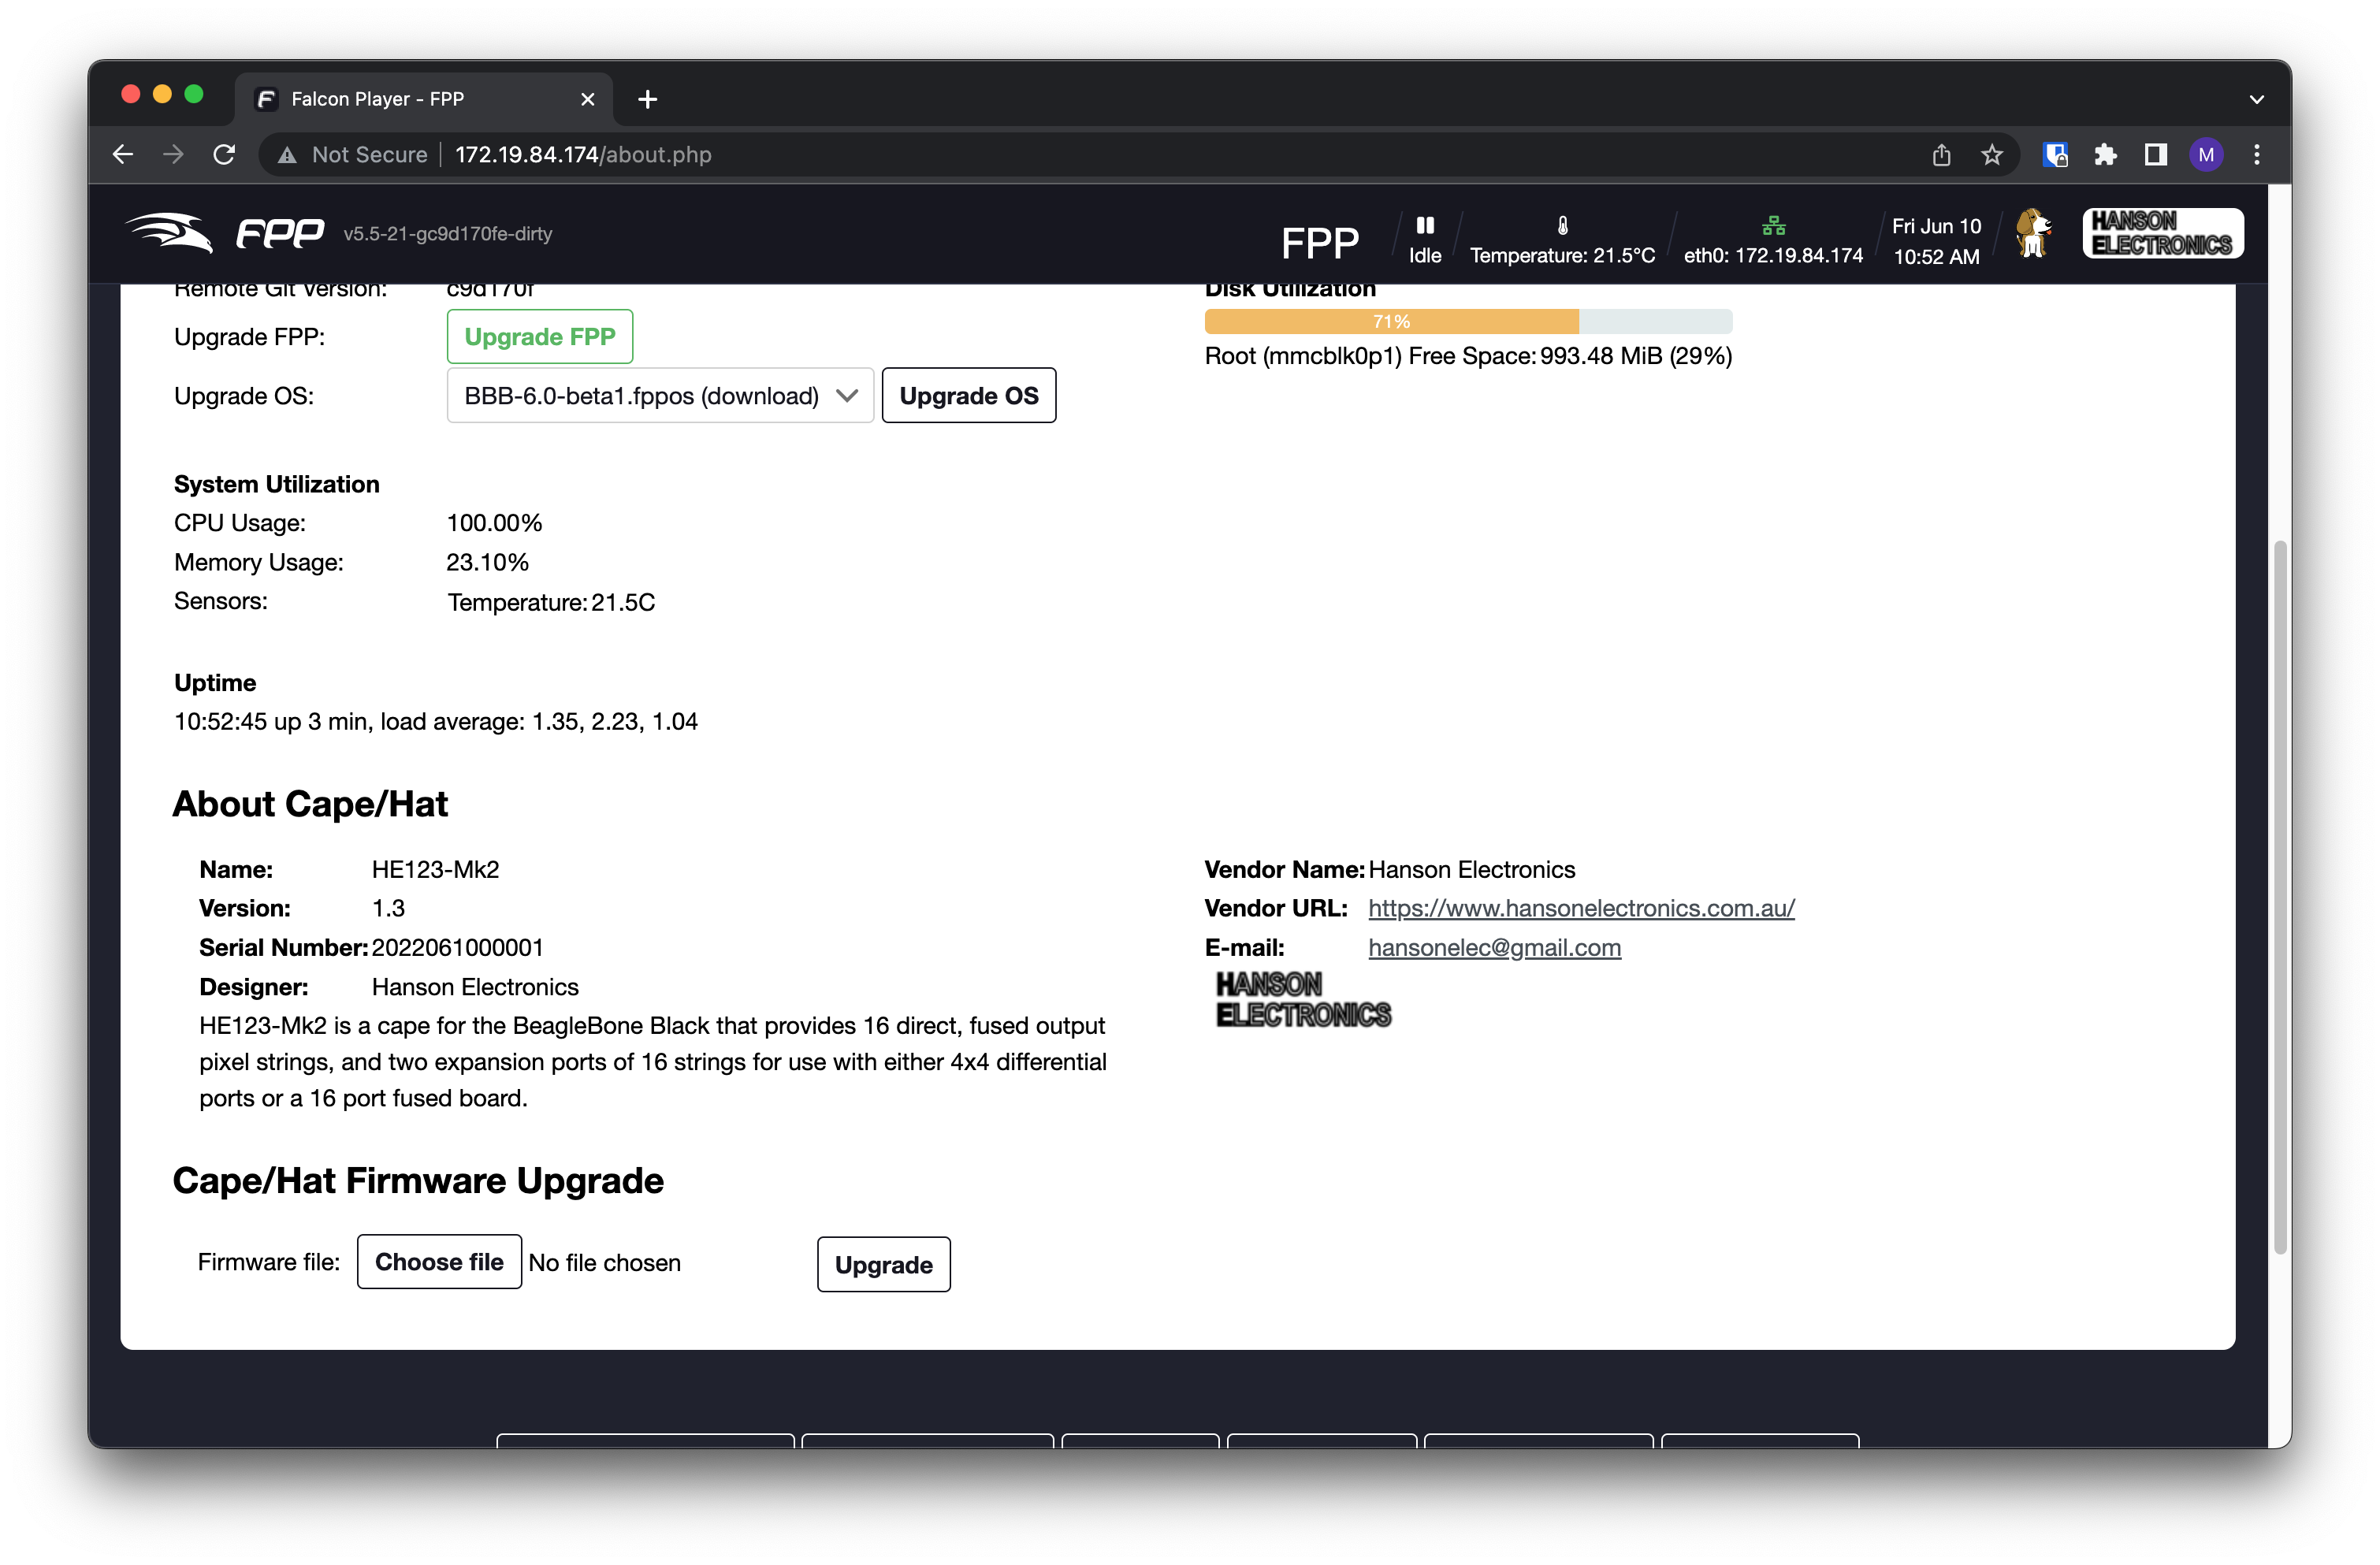
Once you have generated an EEPROM from this site, use the “About” page on FPP to upload it to your board.
As per the top of the page – the disclaimer stands – despite all care taken to make it work – no responsibility is taken for what this EEPROM file may do to your FPP installation or cape.
I really hope this is useful for someone!
Acknowledgements
Thanks to one of my work colleagues, Dan (and fellow ACL member) who pointed me in the initial direction to get this going. Without the initial base EEPROM he wrote, which I was able to reverse-engineer, I wouldn’t have been able to put together all the other bits and bobs needed for the full feature set!
You are an absolute legend and a lifesaver. Thank you. I upgraded from FPP 5.5 to 6.2 tonight, and came up against the cape license issue – worse after I incorrectly set it up as an RGB123 cape.
I’ve used your site to generate a new eeprom, and successfully added the license. Lights are back on, and I’m breathing again after some heartstopping moments.
Just thank you for sharing your expertise and making this available, and so beautifully documented
Thanks for the kind words Sarah. For me it was an exercise in geeky-ness, but I’m glad it helped you in this case!