This is not just one decision. There have been days and weeks thinking about all these intricacies. I note that whilst I am writing this blog as I make decisions, I am describing many things that have occurred over the last two months. My discussion on hardware below will reveal that not only have I worked out what I want, I have also procured many items, and started configuring them and getting things working, so it all is ready to go. It’ll also show that many choices are fluid, and have to change as I encounter issues, or decide that there’s a better way of doing things.
Hardware can be broken down into many components, which I will discuss in turn.
- Controllers
- Show Runners / Playback
- Pixels & Props
- Power Supplies
- Cabling & Connectors
- Mounting Hardware
Controllers
Right now, these are the hardest items to source. The reason being is that in 2022 the world is facing a significant component shortage, meaning integrated circuits for phones, cars, misc other electronics, and by extension, pixel controllers, are high in cost, and have immense backorder times (some in excess of 12 months).
As discussed in a previous post there are a few major players. Falcon is seeing stock selling out within 9 hours of release, and people begging for hardware on Facebook. Advatek have lifted their prices to deter sales and counter the higher prices – their PixLite 16 Mk2 has increased from $399 AUD to $599 AUD in the space of 6 months. The ETA on Kulp controllers is mid-May. Raspberry Pi’s are impossible to get and have gone from $59 to $199, and a Falcon controller is going second hand on eBay (with 4 days remaining as at writing) already at $460 USD ($613 AUD – they were $220 USD new!) So, I decided to look for alternatives.
I have decided to go with two models of controller, both FPP/BeagleBone based. The Hanson HE123Mk2, and SmartAlecLights PixelBone-48 which comes in kit form.
These both plug onto a BeagleBone Black (or Green) board, and are relatively inexpensive – $120 AUD for the HE123, and $50 AUD for the PixelBone, and both requiring an additional $90ea for the BeagleBones. So for the three controllers, it’s worked out similar price to just one of the above mentioned controllers.
So what do these controllers entail which make them ‘more difficult’ to work with, and why are the cheaper? Most of that comes down to the fact they are not ‘hardware’ based, but ‘software’ based. Meaning that you need to load on Falcon Player to the BeagleBone and then configure it. There are also some other issues to contend with:
- The EEPROM on the HE123 is not programmed, so FPP doesn’t know how to work with it out of the box. The PixelBone doesn’t have an EEPROM.
- xLights configuration for ‘automatic configuration’ does not always work, and may need manual configuration
- The PixelBone requires construction (I could get it pre-made, but where’s the fun in that?)
- Not nearly as many people use them, so community support is much lower, and you’re on your own more.
I’ve always been technical, so these challenges sound interesting, and for the cost savings, it’s something worth tackling. One of my work colleagues had knocked up a EEPROM file for the HE123, which I’ve modified as there were some errors – testing has shown that this overcomes the first two issues. I’ve ordered an EEPROM to connect into the PixelBone board, and will also get an EEPROM file written to work with that too. These files and designs I have planned to share back with the original designers of the board so they can incorporate them for new customers.
One of the HE123mk2’s will also have a long range expansion board and a couple of receivers, so that I can run props further from the controller. This changes the signal from a standard single-ended ground referenced one, to a balanced/differential signal, which allows the signal to run many hundreds of metres without degradation.
All up, the three controllers I’ve decided to use will be split up between the Yard props, the House props, and the Mega Tree. There is enough capacity across them that should one die, I can run the show off the remaining two. (In fact, I could probably run off one from a capacity perspective, but there are other limitations – such as cabling).
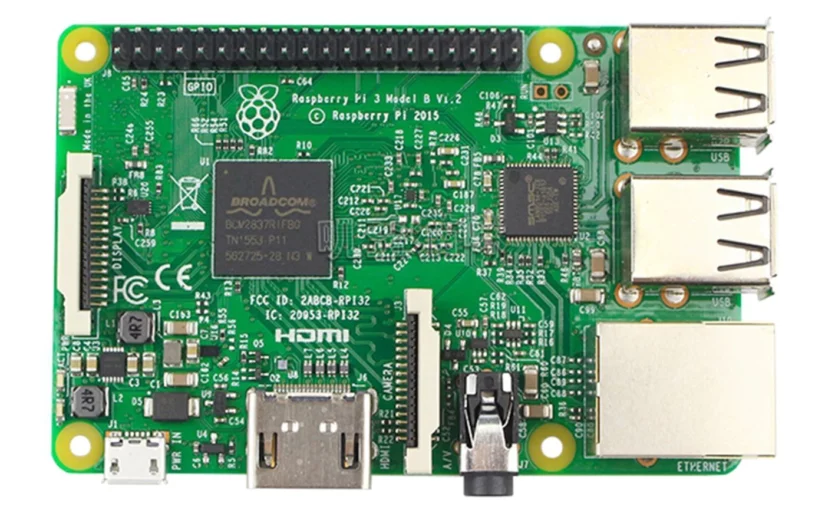
As well as the pixel controllers, I am also running the Hanson DMX2-24 board, as previously discussed, which will be driven by a USB to RS485 DMX adapter for controlling the Bunnings string lights I already have. This will run from a dedicated Raspberry Pi with Falcon Player installed. I already had this Raspberry Pi 3 so it’s been re-purposed for this activity.
Show Runners / Playback
A fifth SBC (small-board-computer) will be running Falcon Player to coordinate the display, output the audio to the transmitter, and send on all the lighting control to the above controllers. This will be a Raspberry Pi 3B+ which I had spare. From a network perspective, this means I will have four controllers receiving E1.31 and DDP lighting data, fed from a single show runner machine.
This machine will have all the sequences and audio files loaded onto it, after the show has been assembled in xLights.
An FM audio transmitter will broadcast the audio to cars driving by the display. I’ve yet to do full testing to ensure the range is sufficient, as well as the clarity of the audio from the Raspberry Pi. Reports have mentioned that the inbuilt audio is pretty rubbish, and an external USB SoundBlaster or equivalent is worthwhile; I’ll uncover this in testing.
Pixels & Props
The first thing that should be decided is what a display would look like. This has been decided, and a few songs have already been sequenced. Minor tweaks have been made. As such, knowing what I want, and where I want it, an order was placed with one of the pixel vendors in China. Delivered to me was 4,000 bullet pixels, 50m of LED strip (total 1,500 LEDs on the strip), a bunch of connectors and cabling, and a couple of small RGB floodlights.
These were all ordered with the thicker 18AWG wire (rather than the 20/22AWG they put on standard), as well as the appropriate pixel connectors.
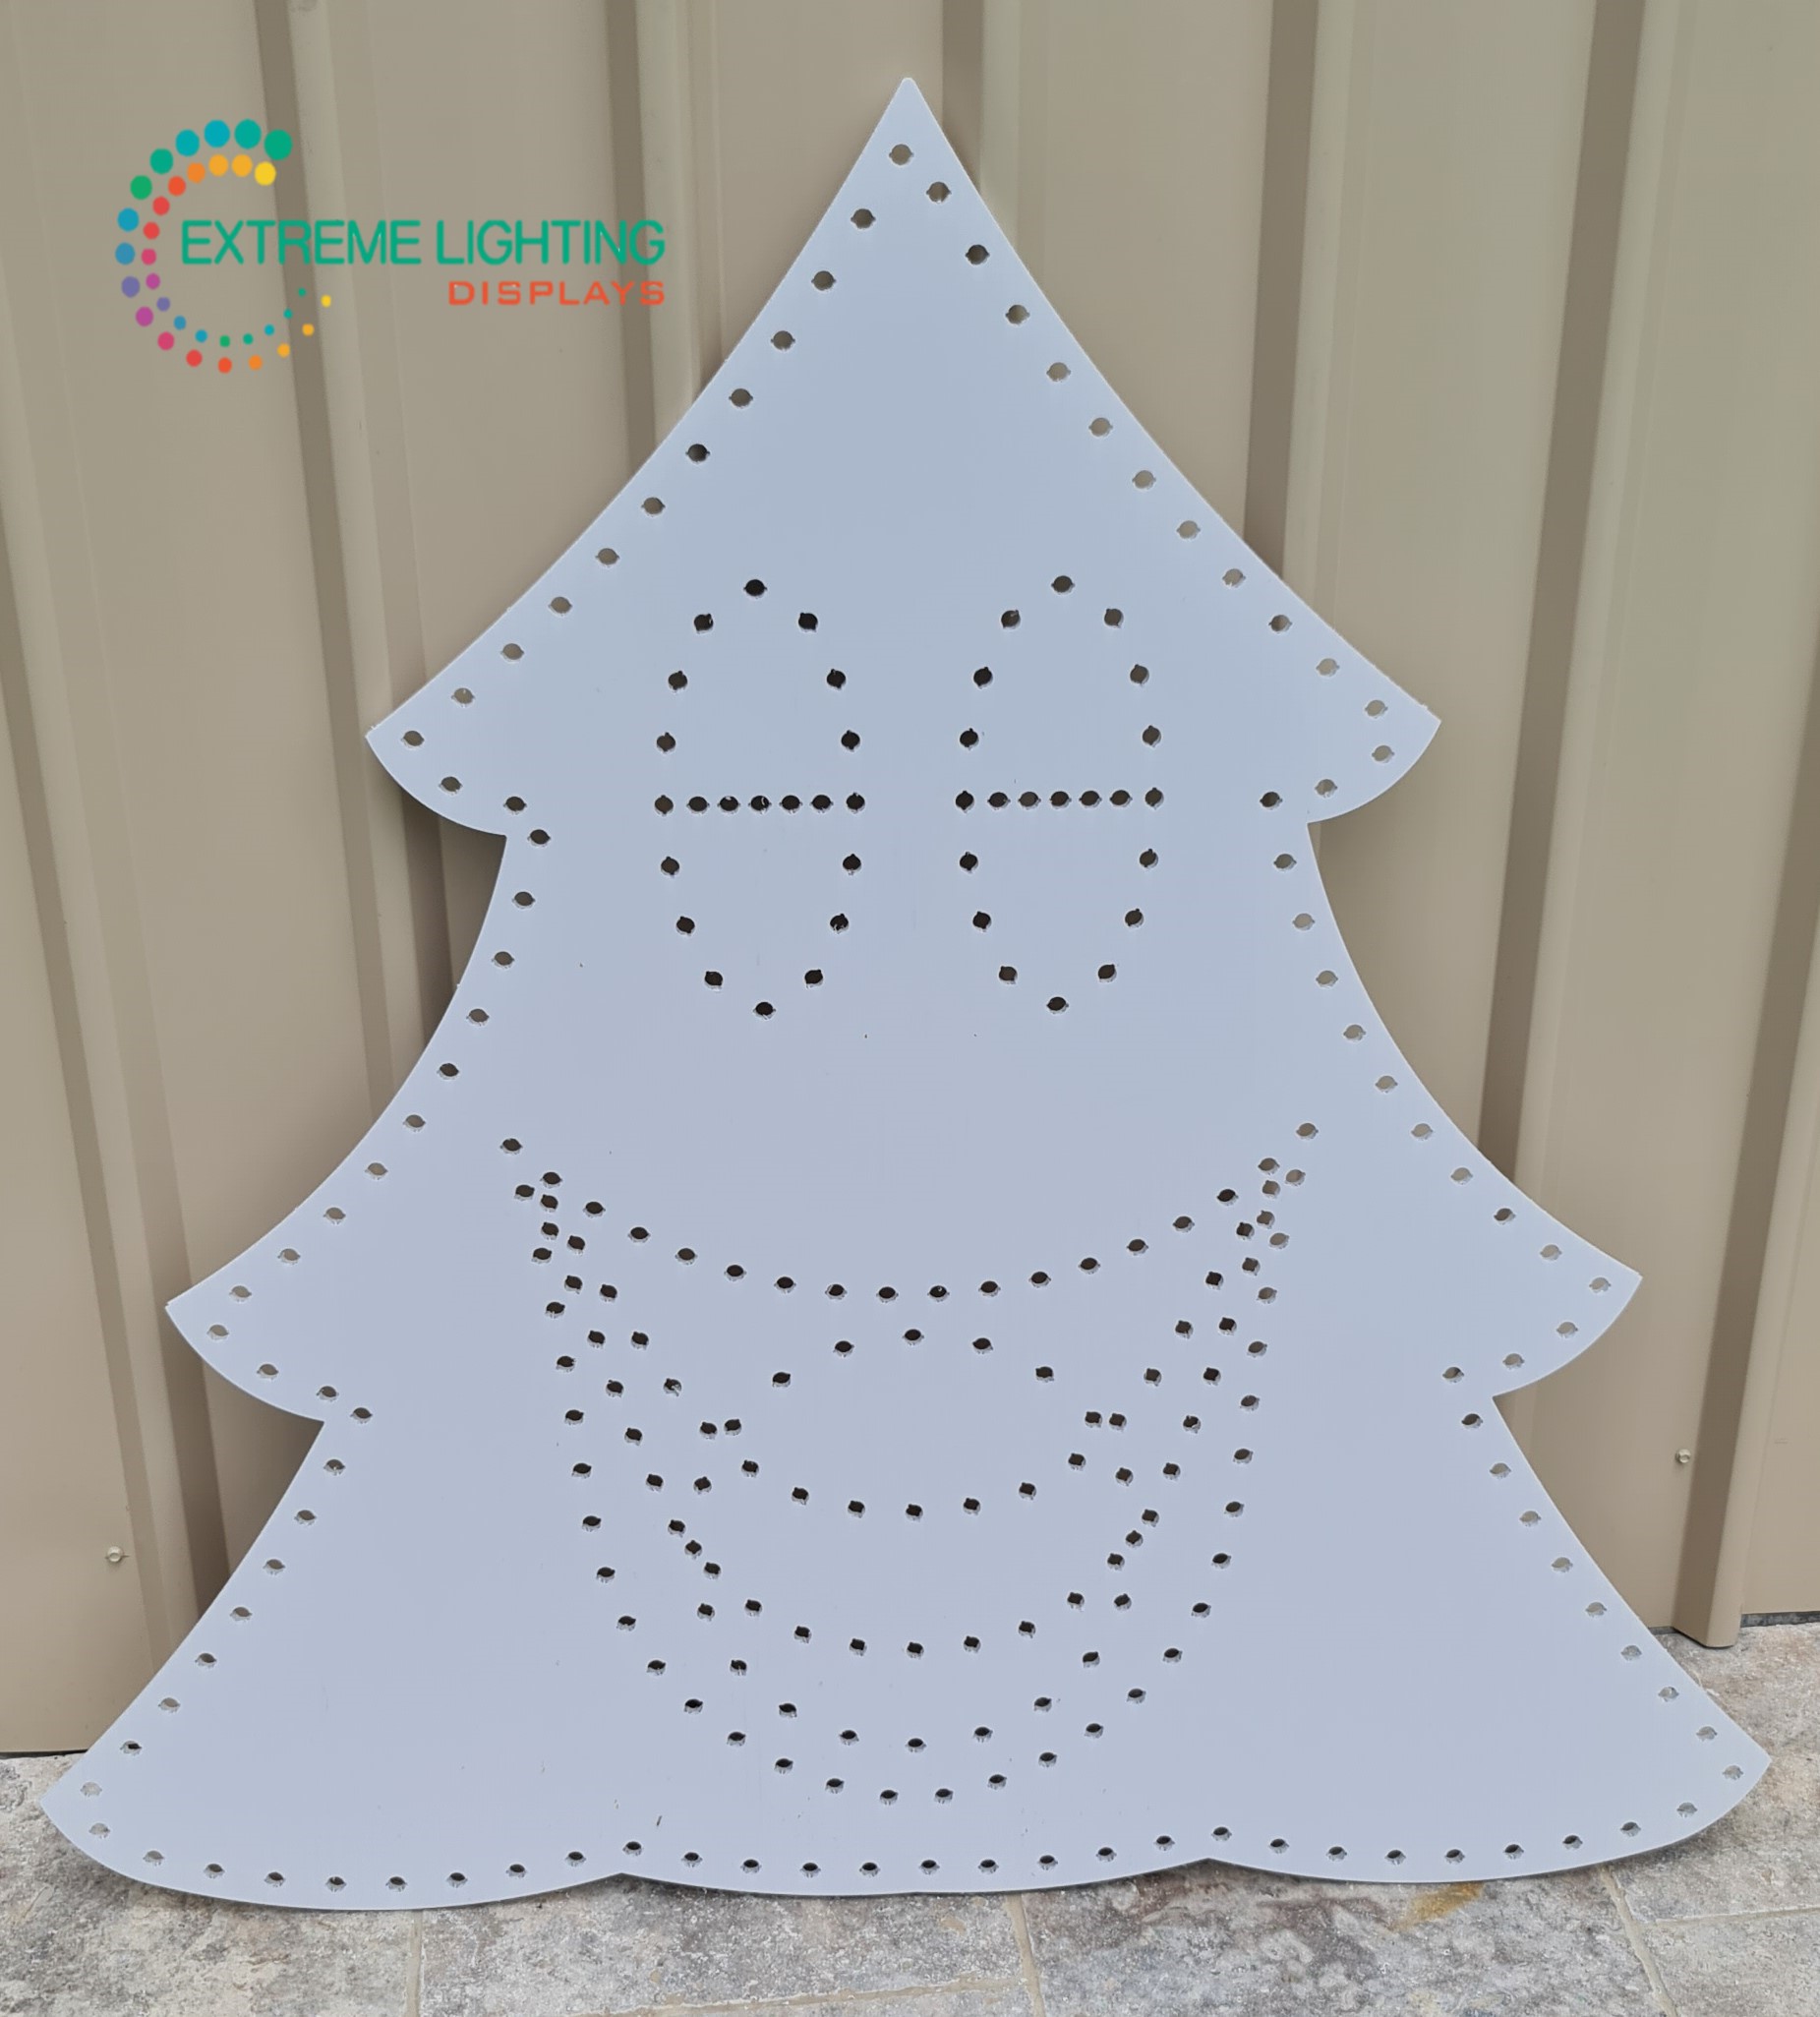
Props have been decided on, and my beautiful wife mentioned that I will be getting some for my birthday, so we’ll see how that goes when we go pick up the order this coming weekend. More photos to come no doubt!
Power Supplies
Based on the requirements, I have decided on 3x 24V power supplies (at 480W/20A each), and 16x DC-DC converters scattered around the display. This will mean the bulk of my backbone power (longer runs) can be made with smaller gauge cable, and limit the cabling going all over the place.
Also, I have worked out that due to the much higher pixel density, I’ll need 2x 5V power supplies (at 350W/70A) to run the mega tree and star.
I’ve converted an old small computer power supply which will send out 12V for the floodlights, as these didn’t come in 5V form.
Cabling & Connectors
As mentioned above, I have received all the pixel connector pigtails from the Chinese vendor. I’ve decided on using X-Connect plugs and sockets, the biggest reason being is another local display has the same setup, and it means we can help each other out of needed. There is no technical reason to pick each of the plugs over another.
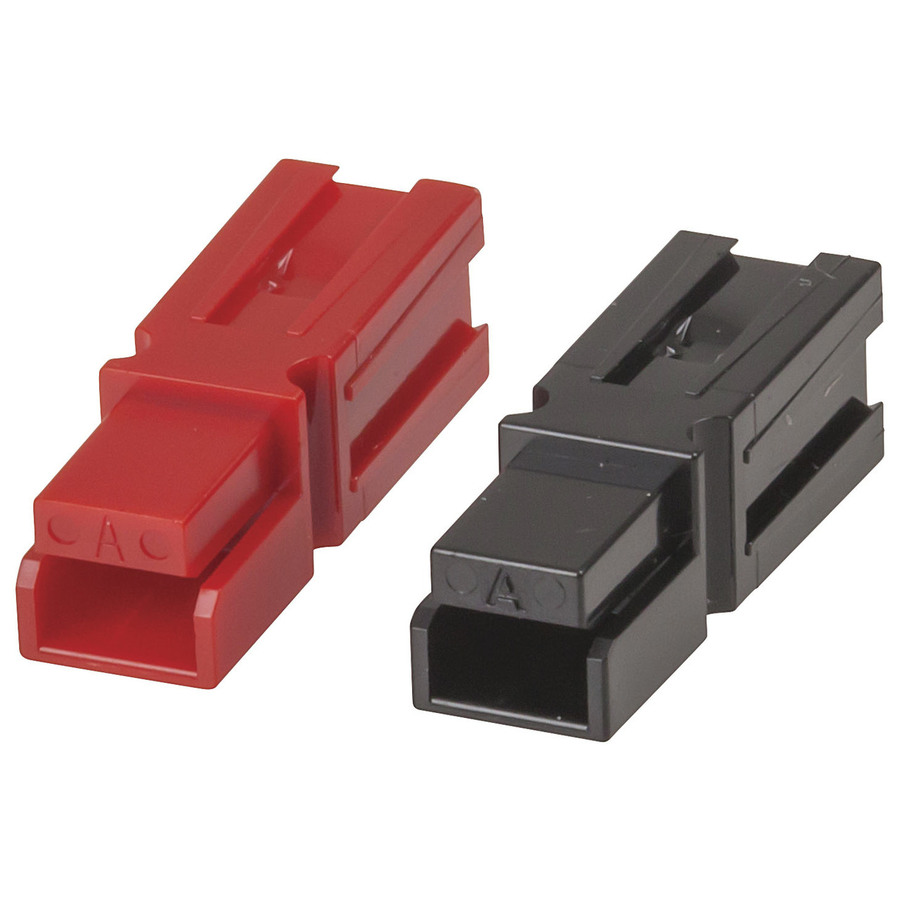
For the backbone 24V DC power, I will use some 1mm2 Bunnings extension cables (with the plugs cut off / replaced) as these can be had for less than $1/metre and have a durable insulation. The connections between these will be Anderson PowerPole, which are genderless connectors, that can handle up to 30A each.
Once converted down to 5V DC, the power in most circumstances will be delivered direct to the prop using separate power connections. The controller output, whilst being a 3pin X-Connect, will not have any pixel power attached. This is due to my distributed power design, rather than using centralised 5V power supplies.
So for this connection, I have ordered some 4mm solar DC cable. It was relatively inexpensive compared to most cable the same size (about half the price), is rated to 120 degrees celsius, and is also UV protected as it’s designed to go on a house roof with solar panels. Perfect for running out in the garden or around the house. The DC connector I’ve decided to use is an Amass XT60H connector, which can handle up to 60A peak load, more than enough for my needs. It’s a hardy connector with polarity protection and decided for low-voltage DC.

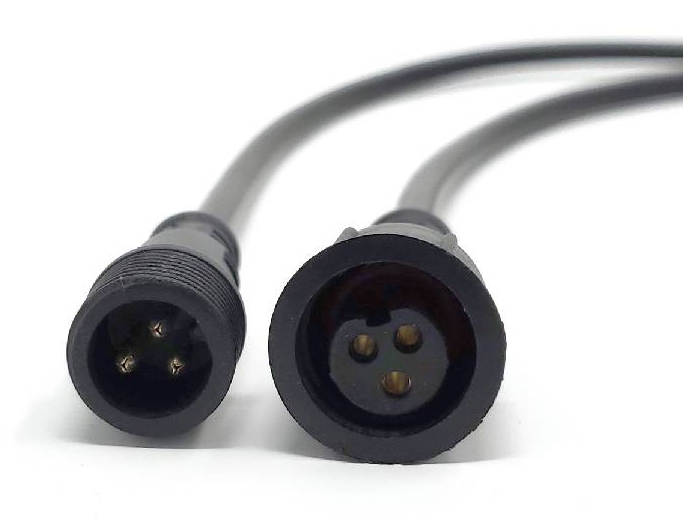
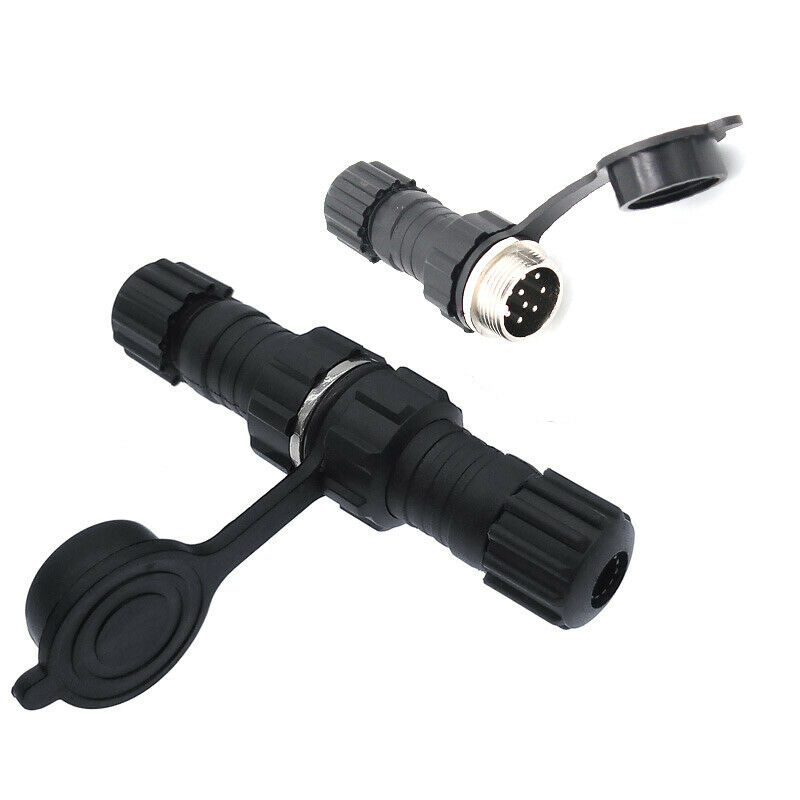
Ethernet will be delivered out to the controllers using CAT6, however from previous projects, I do have outdoor, UV rated, gel-filled kind. I’ve yet to determine the connector I’ll use; based on the water resistant requirement. Right now I’m thinking a round locking 8 pin connector, similar to the below.
Mounting Hardware
This will be loads of experimentation, and making something to fit my particular install. As it stands, I know that I’m going to need loads of conduit for doing the house outlines, I’ll need hundreds of cable ties to hold everything together. There will be many trips to Bunnings as I work out how things are all going to fit together. Sadly the weather in Sydney has been absolutely rubbish in the month of March – places getting flooded (including my back yard, but not to the extreme others have had) – so therefore nothing can be tested and tried.
Conclusions
So as you can see, there is lots to organise, lots to get going. I’m glad I’ve started when I have, given myself all year to plan and build. I’m glad that I’ve already made investments in the pixels, controllers, power supplies and some of the cabling and connectors, as I’ll be able to – and have already done – start getting things built and running.
Many people have helped along the way with design decisions, either by offering assistance, or by writing their experiences on forums such as ACL, where I am immersing myself in their knowledge a few years down the track.
I get excited each time something comes to life; when I see something working, when I feel it all coming together. As I said in the first post, I’m hooked – and loving it!